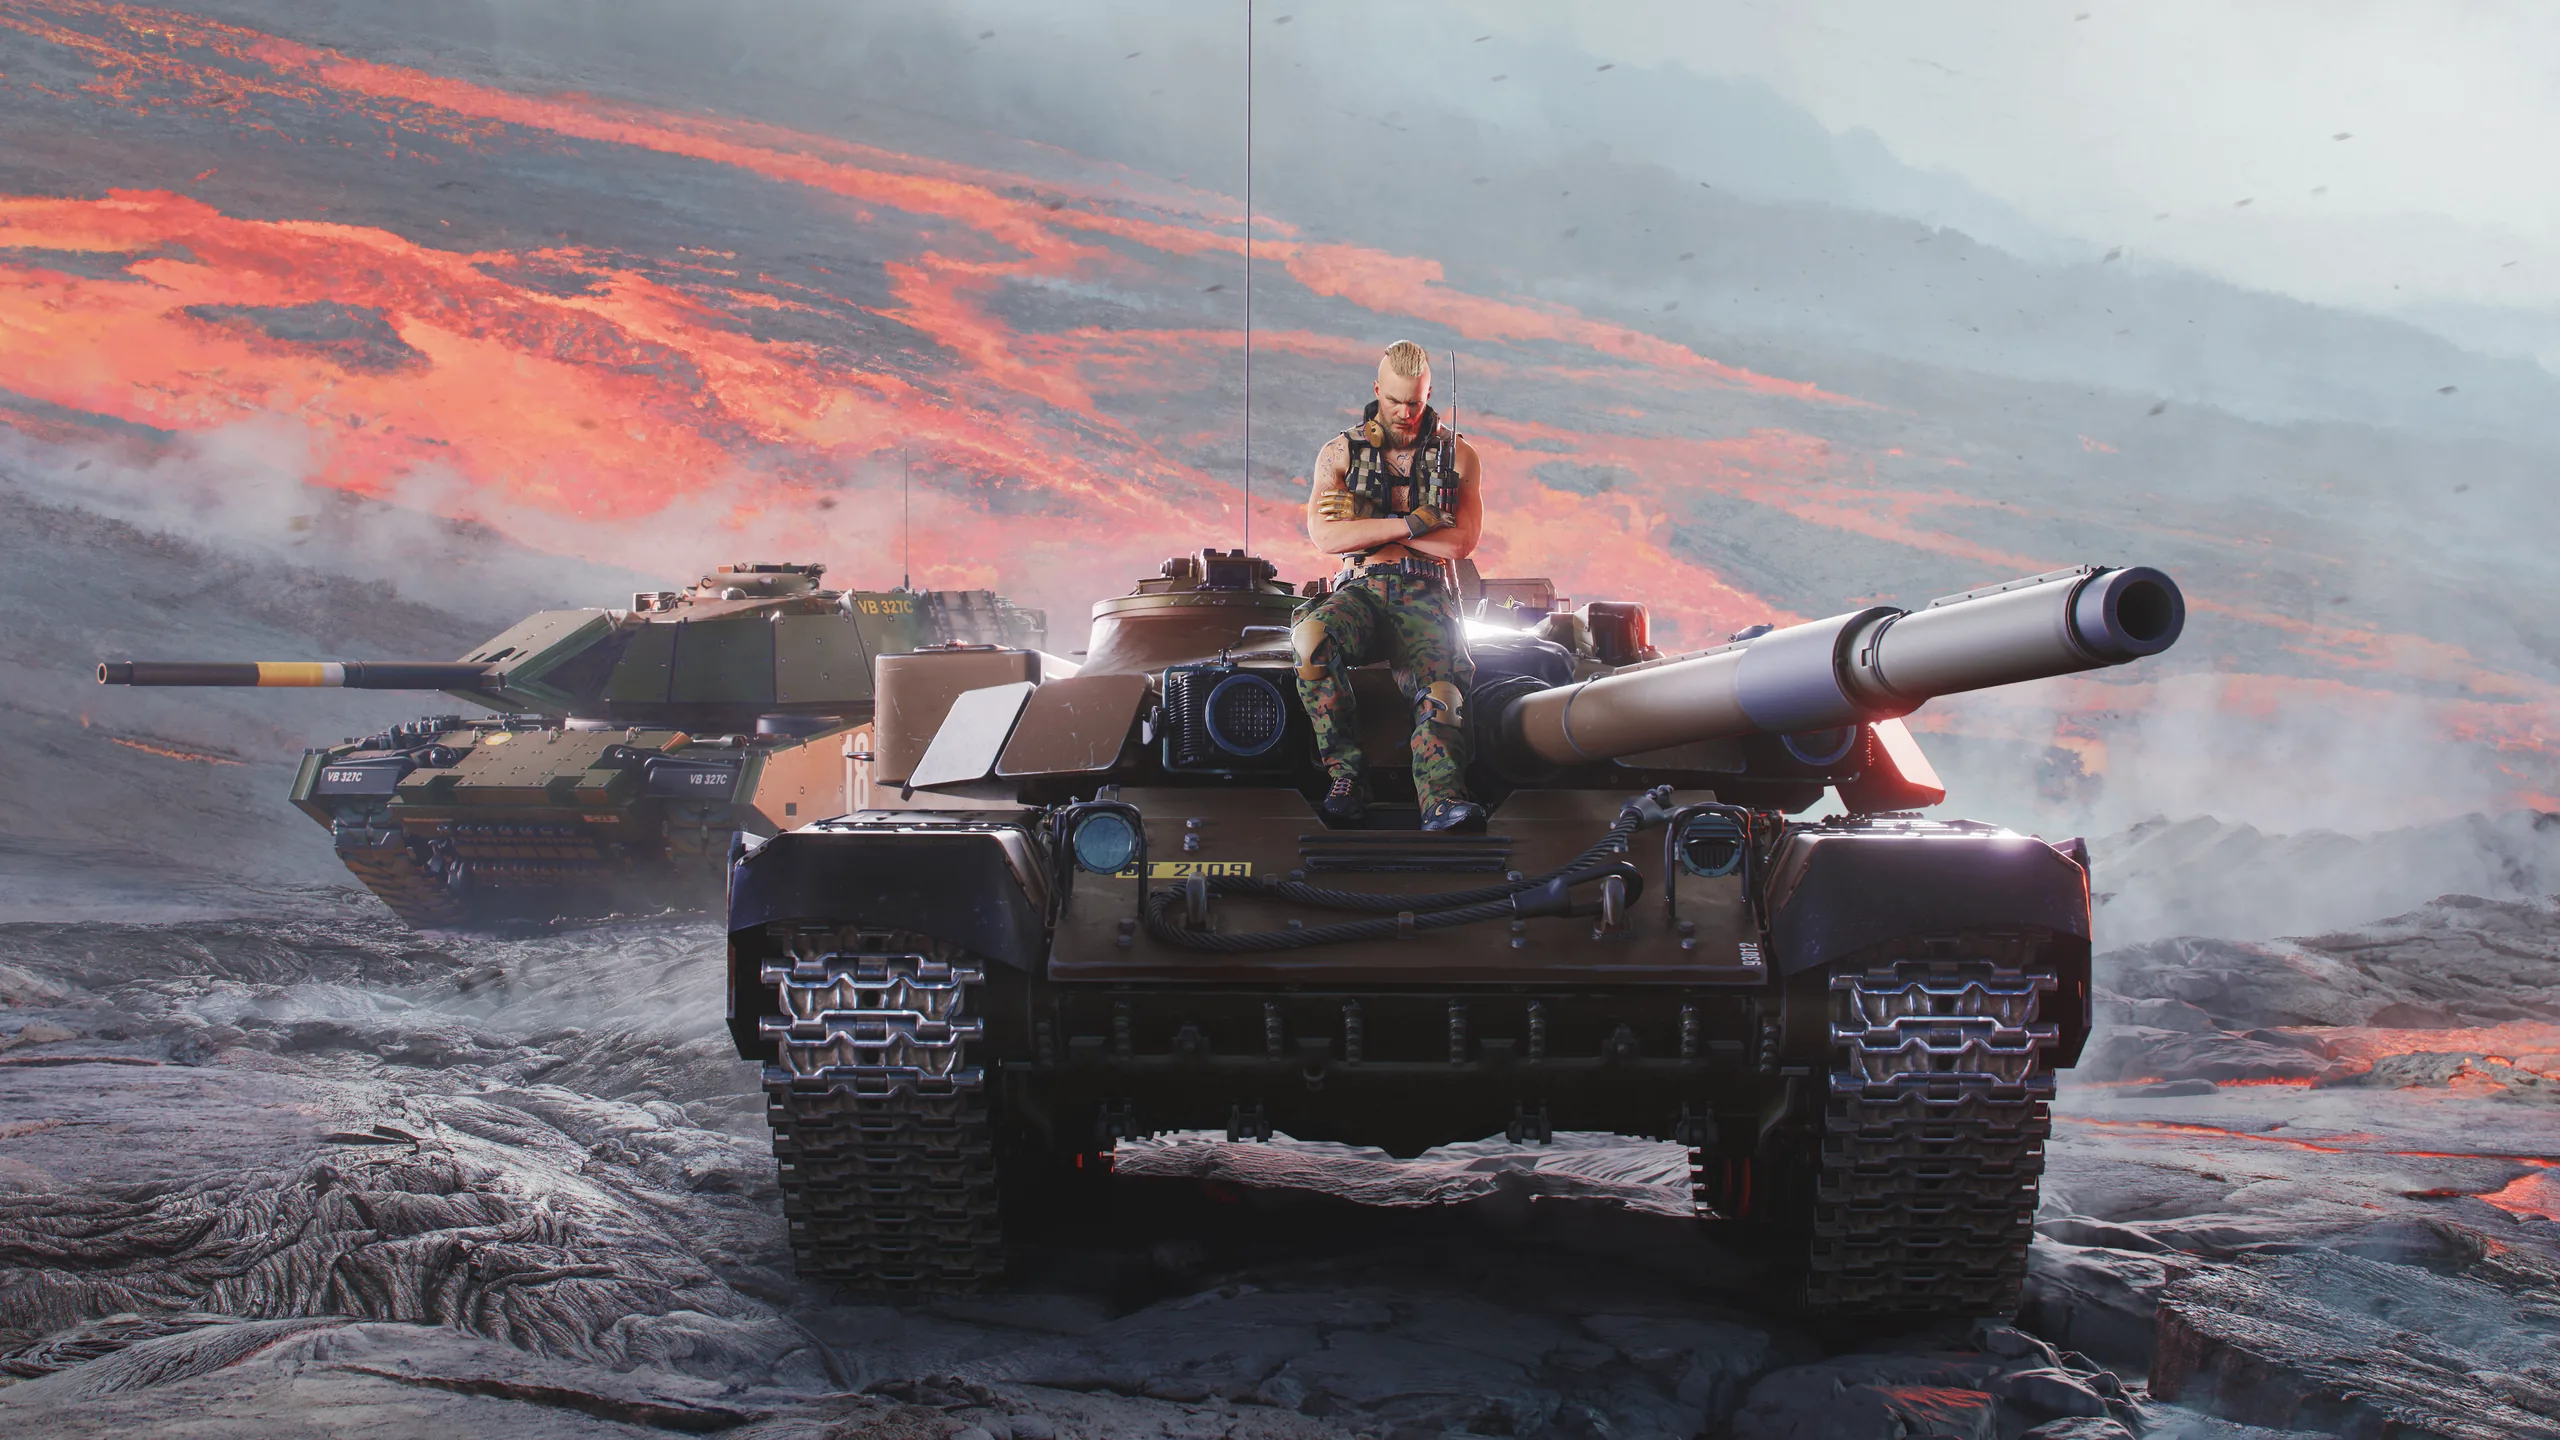
Season 2, Fire & Ash, brings a new Defender Agent to HEAT. Gambit arrives with two new vehicles built around disruption and battlefield support. Alongside him, a new volcanic map, Inferno One, puts two factions on a collision course over a town smothered by burning lava, and Ember gains a new flamethrower vehicle, the M1150 Breacher.
Born to rebuild the terms of a fight, Gambit turns his allies' hulls, tracks, and shields into problems the enemy solves twice, and every hit that lands on him becomes a signal he traces straight back to its source. Where other Agents defend a position, Gambit defends the whole team and makes attacking him a mistake in itself.
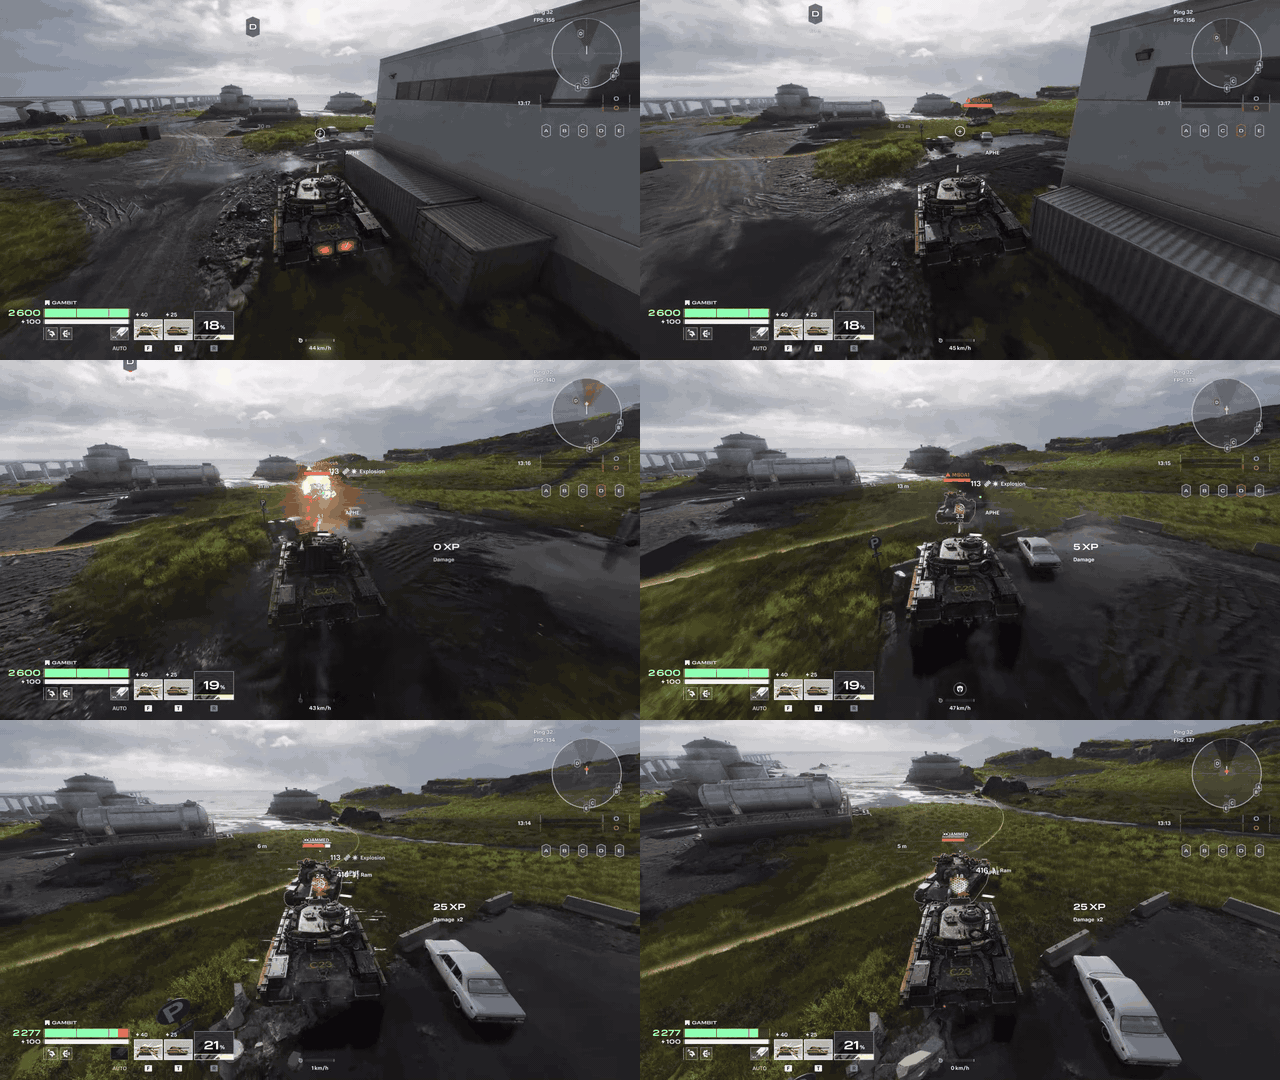
Whenever Gambit takes damage, the attacker is hit with Jamming equal to the damage dealt, more if they got in close, and even more if they rammed him. Shoot Gambit from far away and the trace fails, but get close and his systems turn every shot against you.
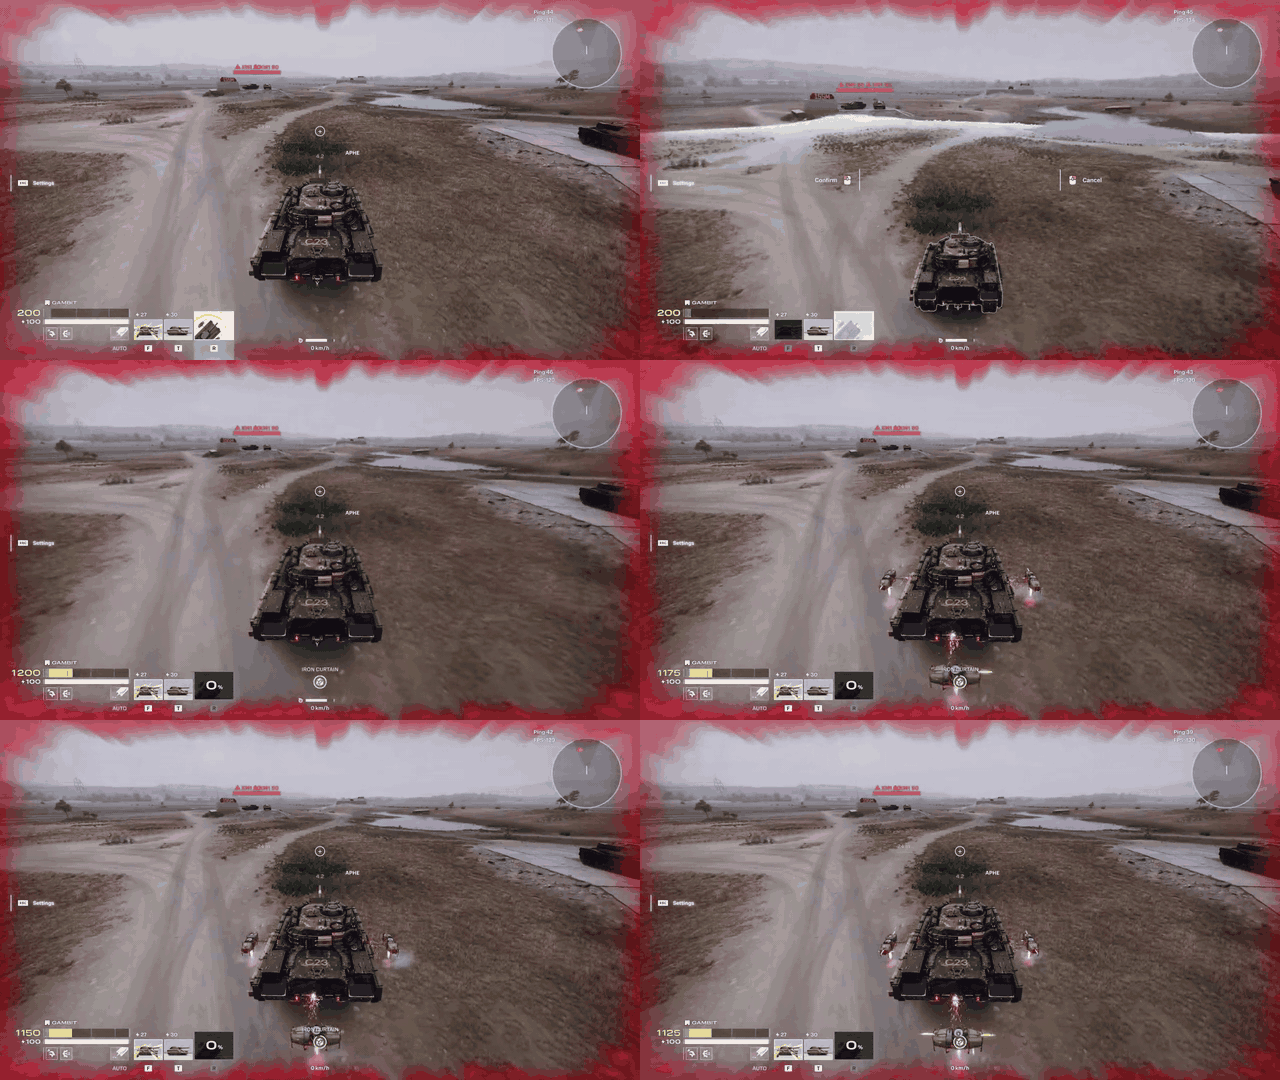
Gambit deploys a swarm of drones that reinforces every ally in a radius: hulls, tracks, and shields all surge with temporary protection that fades over time. It turns an ally squad into one that can suddenly absorb far more than the enemy expects.
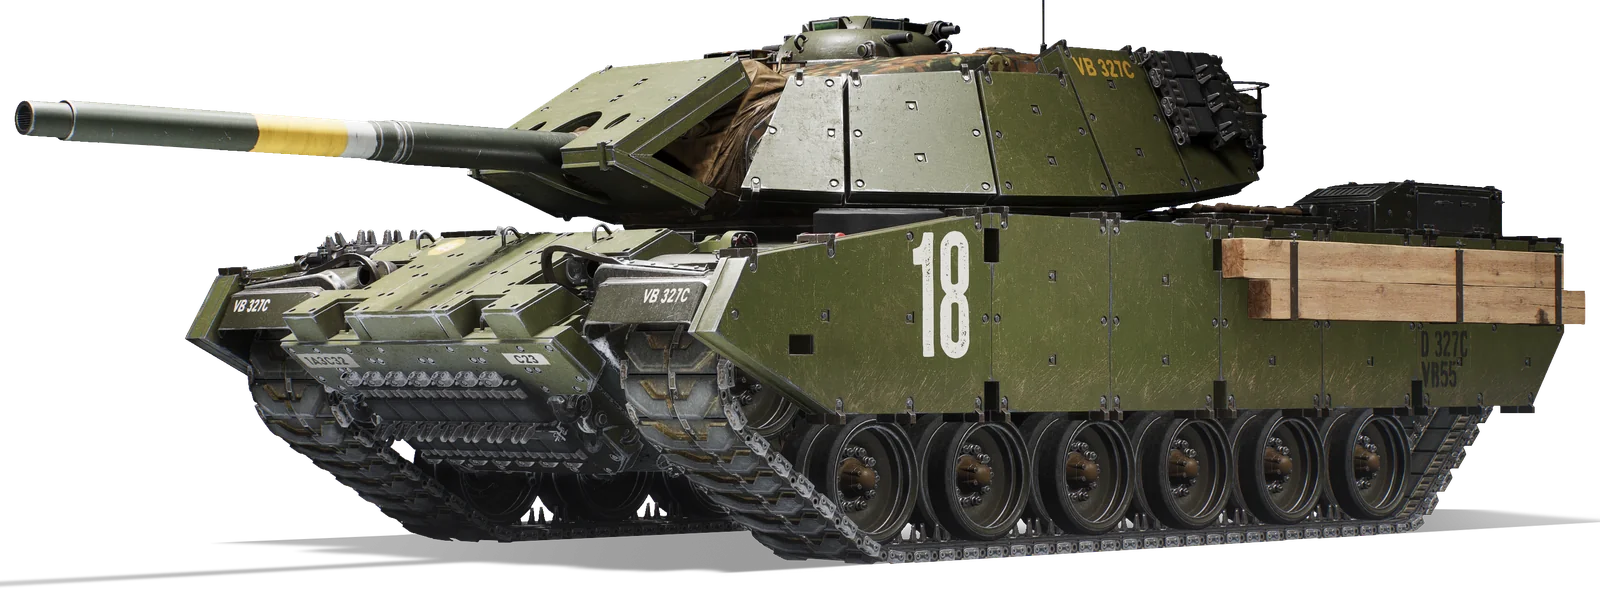
Main Gun: Single Shot, APHE Shell
The M60A3E2 is built around applique armor plating that reacts to an applied electric current, growing harder under load. It cannot be welded or press-formed, which limits where it can be used structurally, but as bolt-on protection it is excellent: a mobile, mid-armor off-tank suited to diving into a fight rather than holding a line.
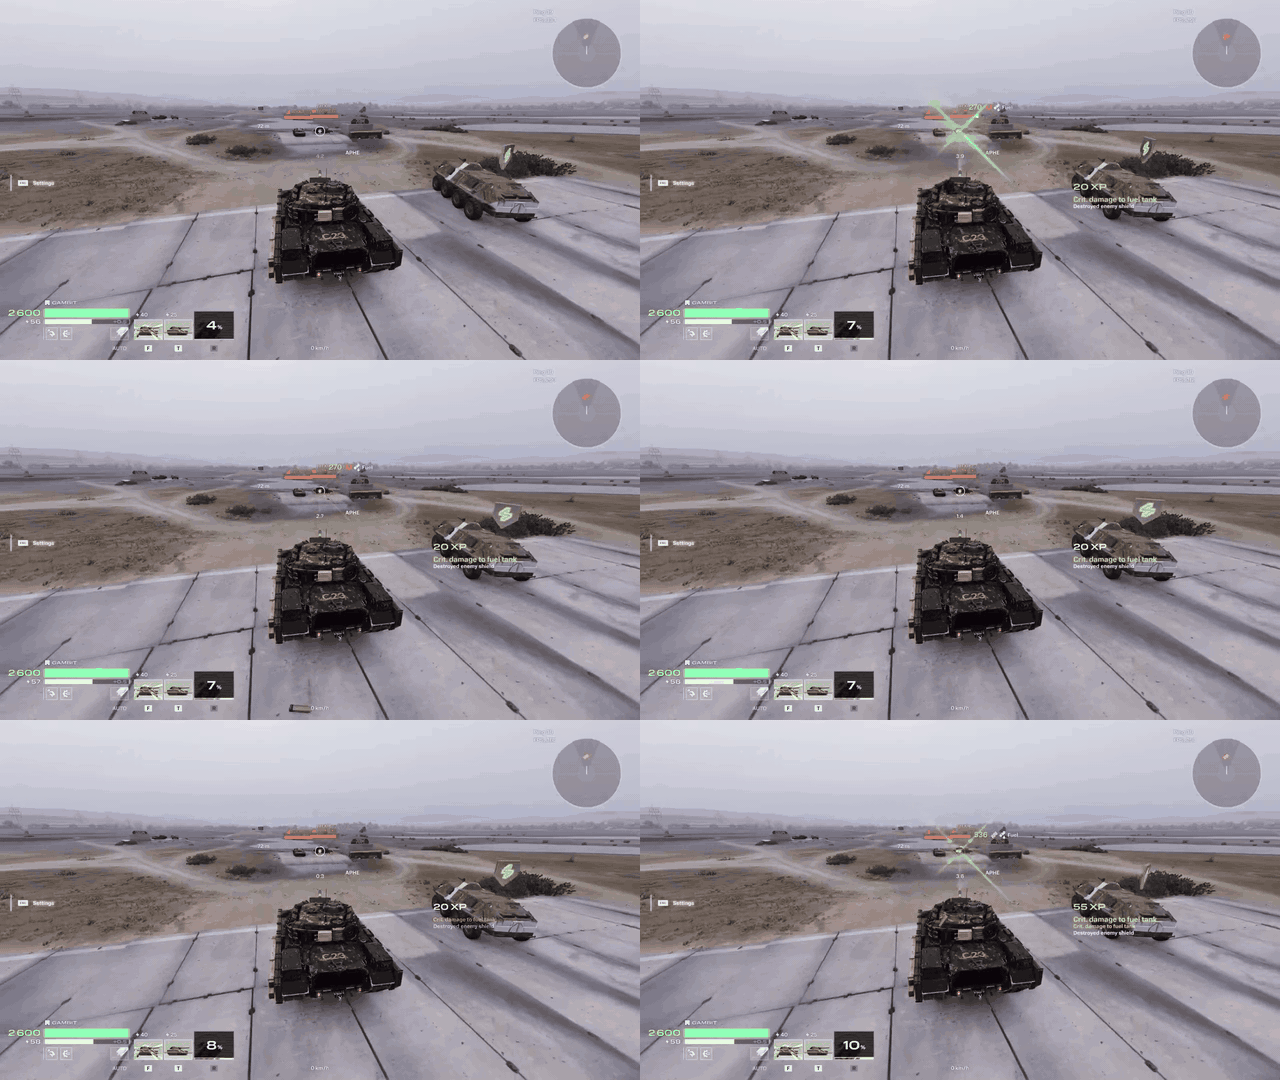
The M60A3E2 carries two abilities built around soaking damage and then punishing whoever gets close.
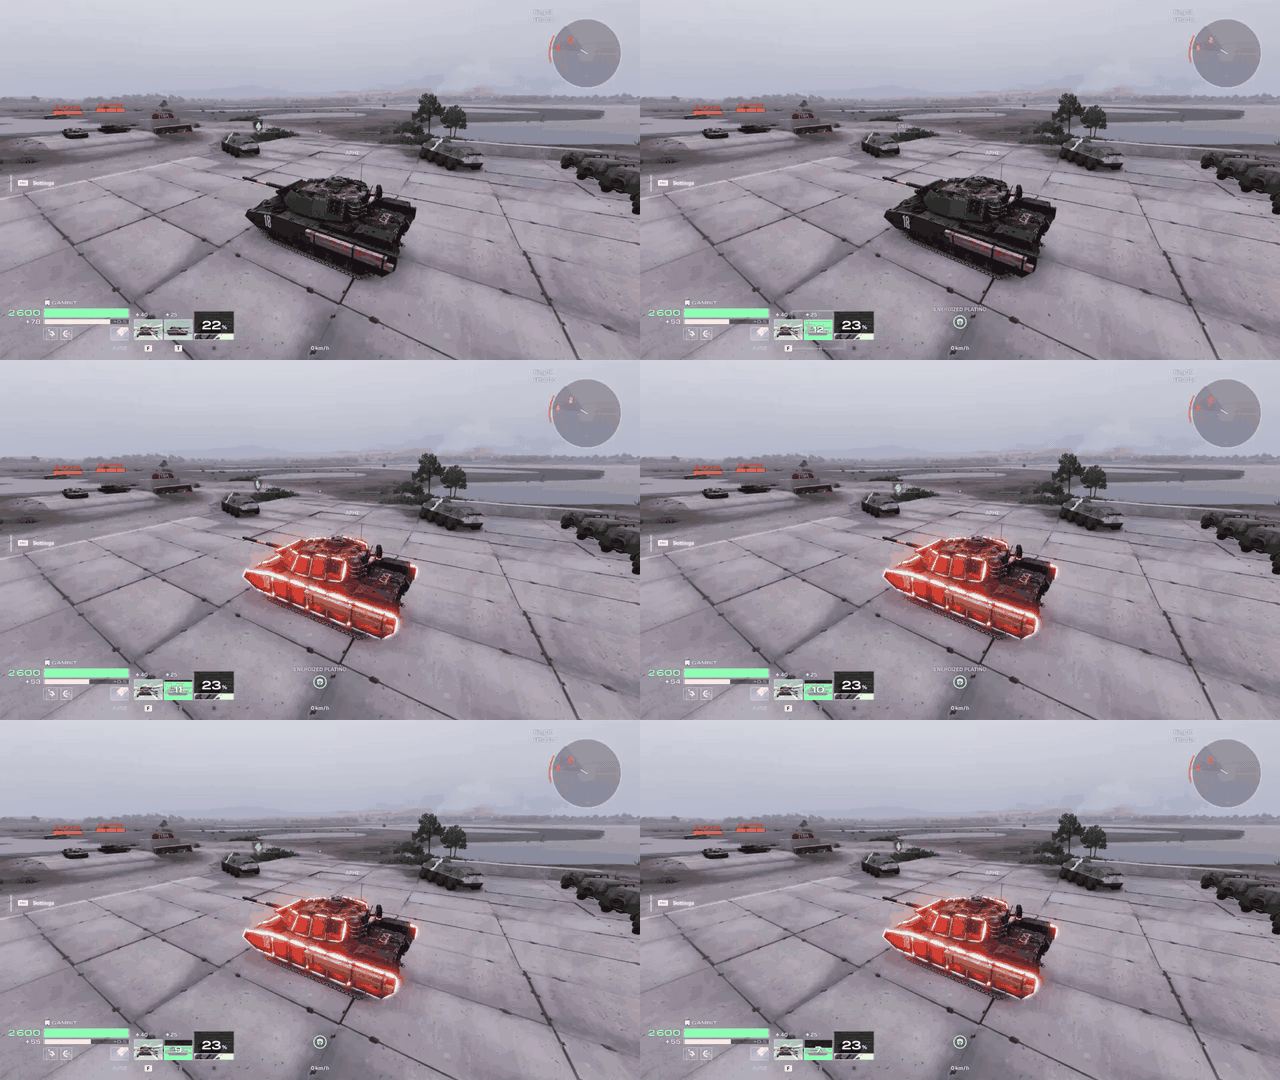
Charges the vehicle's armor plating, making its shell screens immune to damage for the duration and boosting track health and regeneration so it becomes far harder to immobilize. Any shell screens already broken when the ability activates begin regenerating immediately. The ability can be interrupted by Jamming.
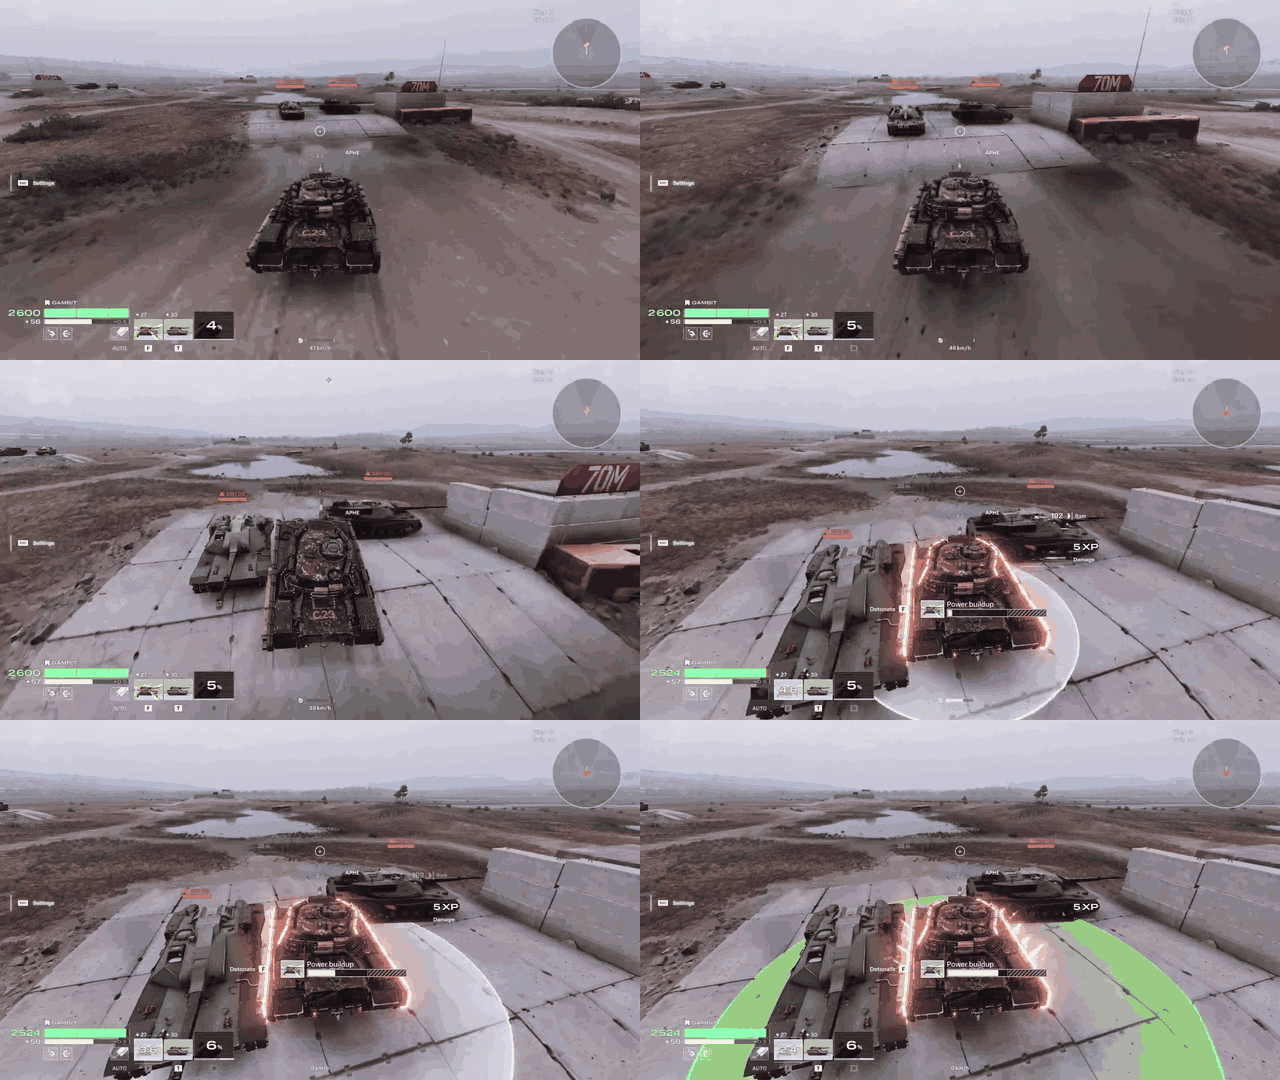
Detonates concussion charges hidden beneath the applique armor, releasing a blast wave that damages nearby enemy vehicles, tracks, and shields. The longer it is charged before detonating, the more damage it deals. Hold it too long, however, and the M60A3E2 goes into overcharge, taking damage itself and eventually slowing or immobilizing on release. All of the vehicle's own shields are destroyed on detonation regardless of charge time. This ability can also be interrupted by Jamming.
How to Play
Dive into engagements, using mobility and armor to absorb the opening exchange.
Activate Energized Plating to shrug off incoming shells and hold position under fire.
Charge Blast Projectors to punish enemies who group up or overextend near you.
Detonate early for a safer, smaller blast, or hold the charge for maximum damage at your own risk.
Use track durability to stay mobile even while soaking damage.
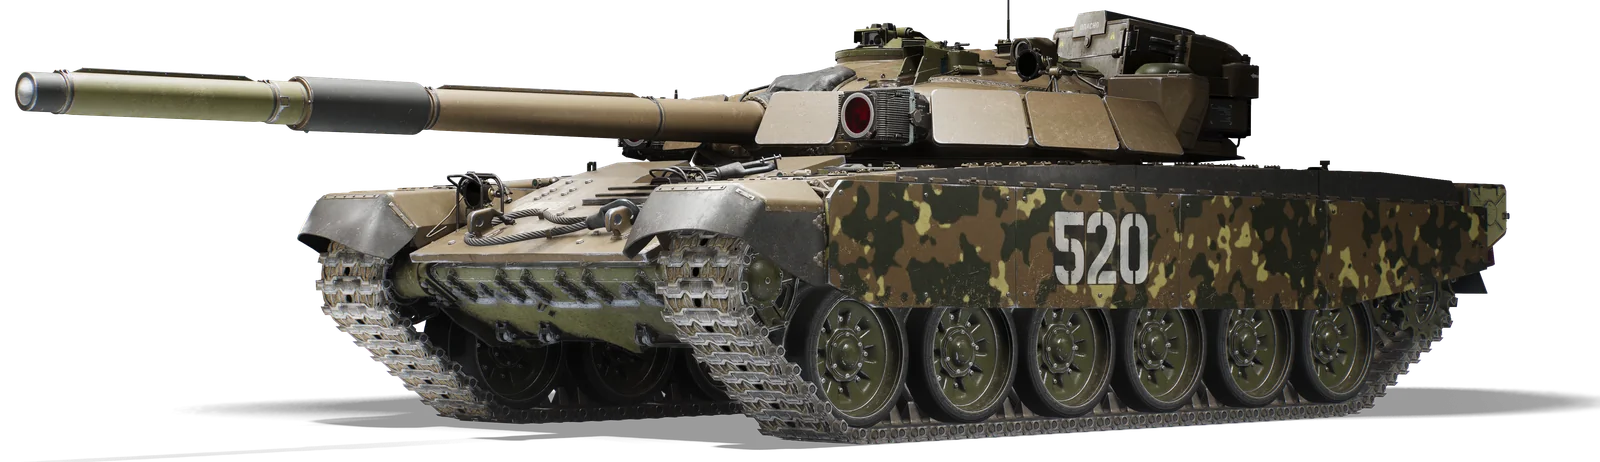
Main Gun: Autoloader, APHE
The T-72SH runs an autoloader feeding APHE rounds, so it can put several shells downrange in quick succession rather than leaning on a single heavy hit. Where the M60A3E2 dives into a fight, the T-72SH is built to control the space around it and scramble what the enemy can target in the first place.
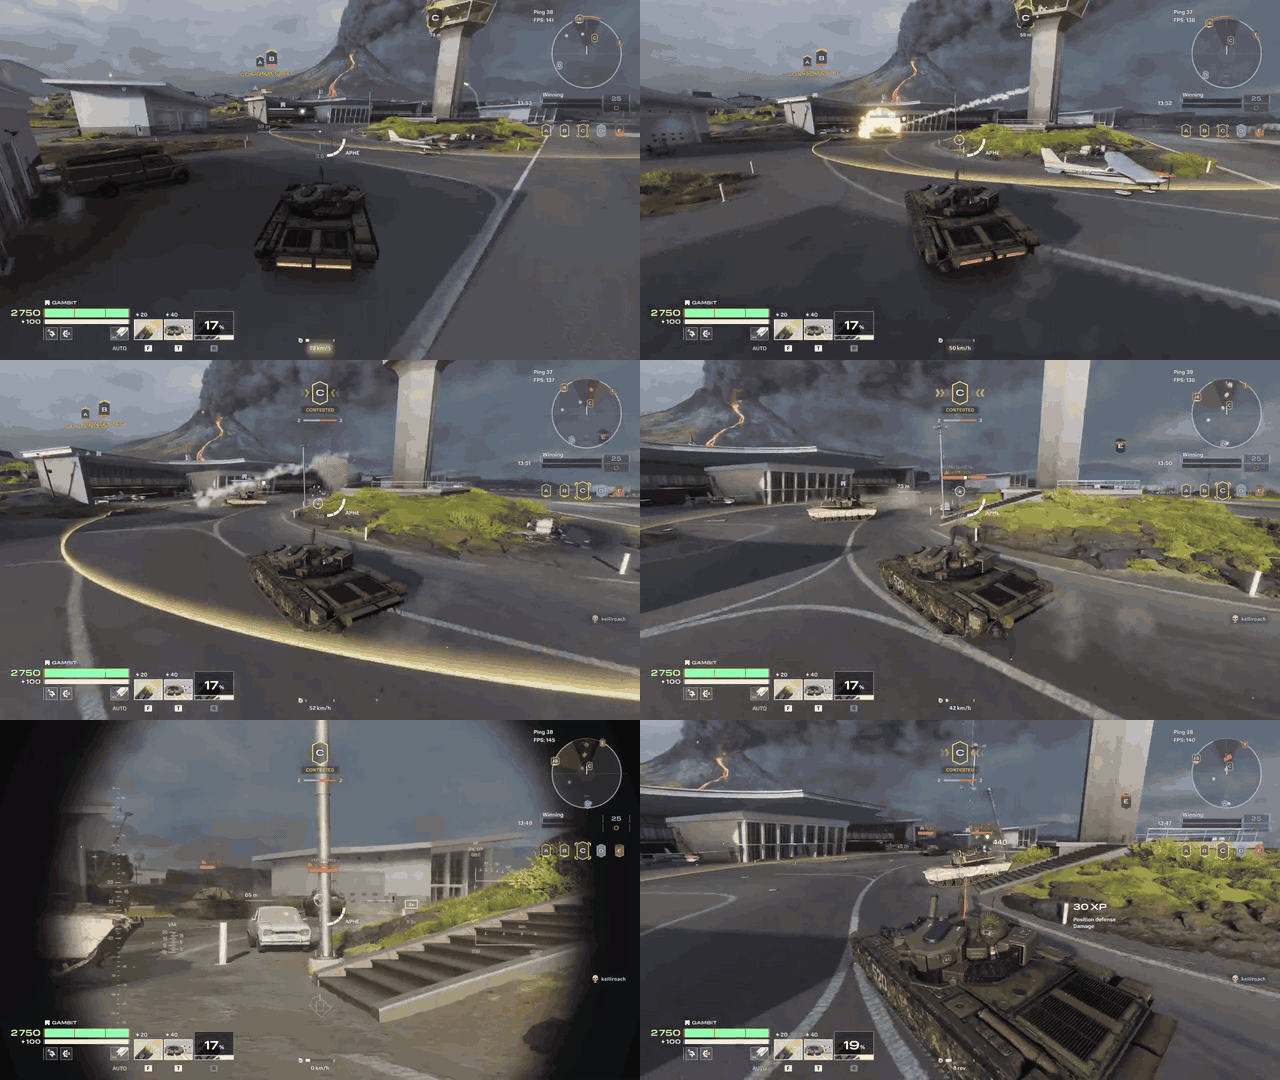
Its two abilities are built to disrupt enemy targeting and lock down ground.
Projects a magnetic field in front of the T-72SH that distorts laser rangefinders and other targeting systems. Enemies looking through the field are hit with a targeting-disruption effect, reducing the effectiveness of many of their weapon systems for as long as they stay in view of it. The field is attached to the turret, so it tracks wherever the T-72SH aims. This ability can be interrupted by Jamming.
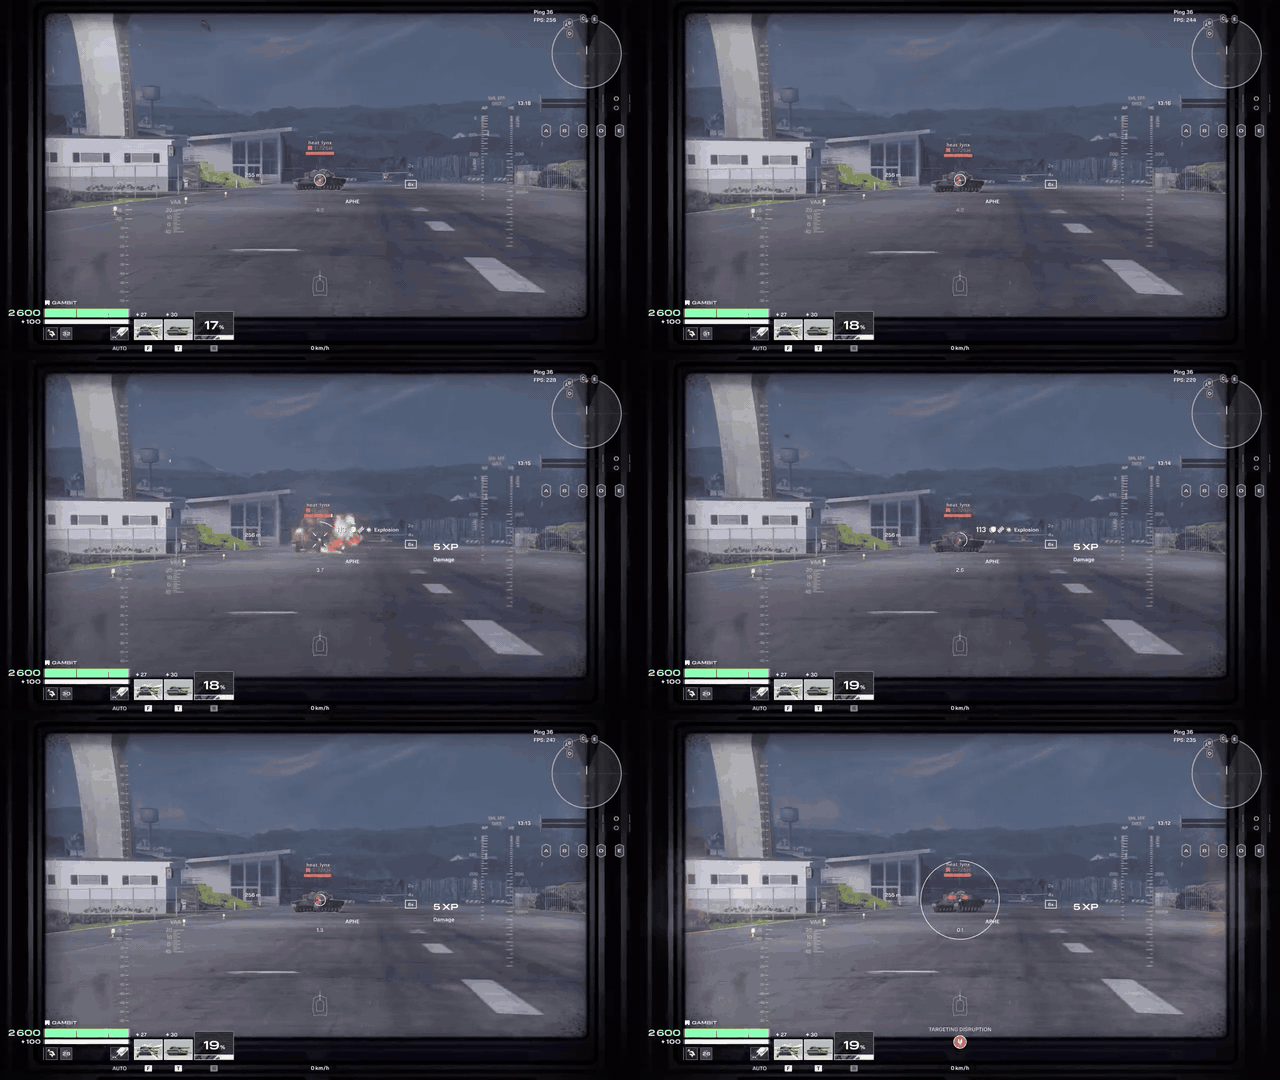
Slings three floating Tesla Discs out from a turret-mounted launcher. They come to rest a few meters off the ground at set points ahead of the tank, or wherever they first collide with something solid. Once deployed, each disc periodically drops an energy pulse that deals true damage and applies Jamming to anything caught in it. The discs have their own health pool and can be destroyed by enemy fire, but until then they keep pressuring the area they were placed in.
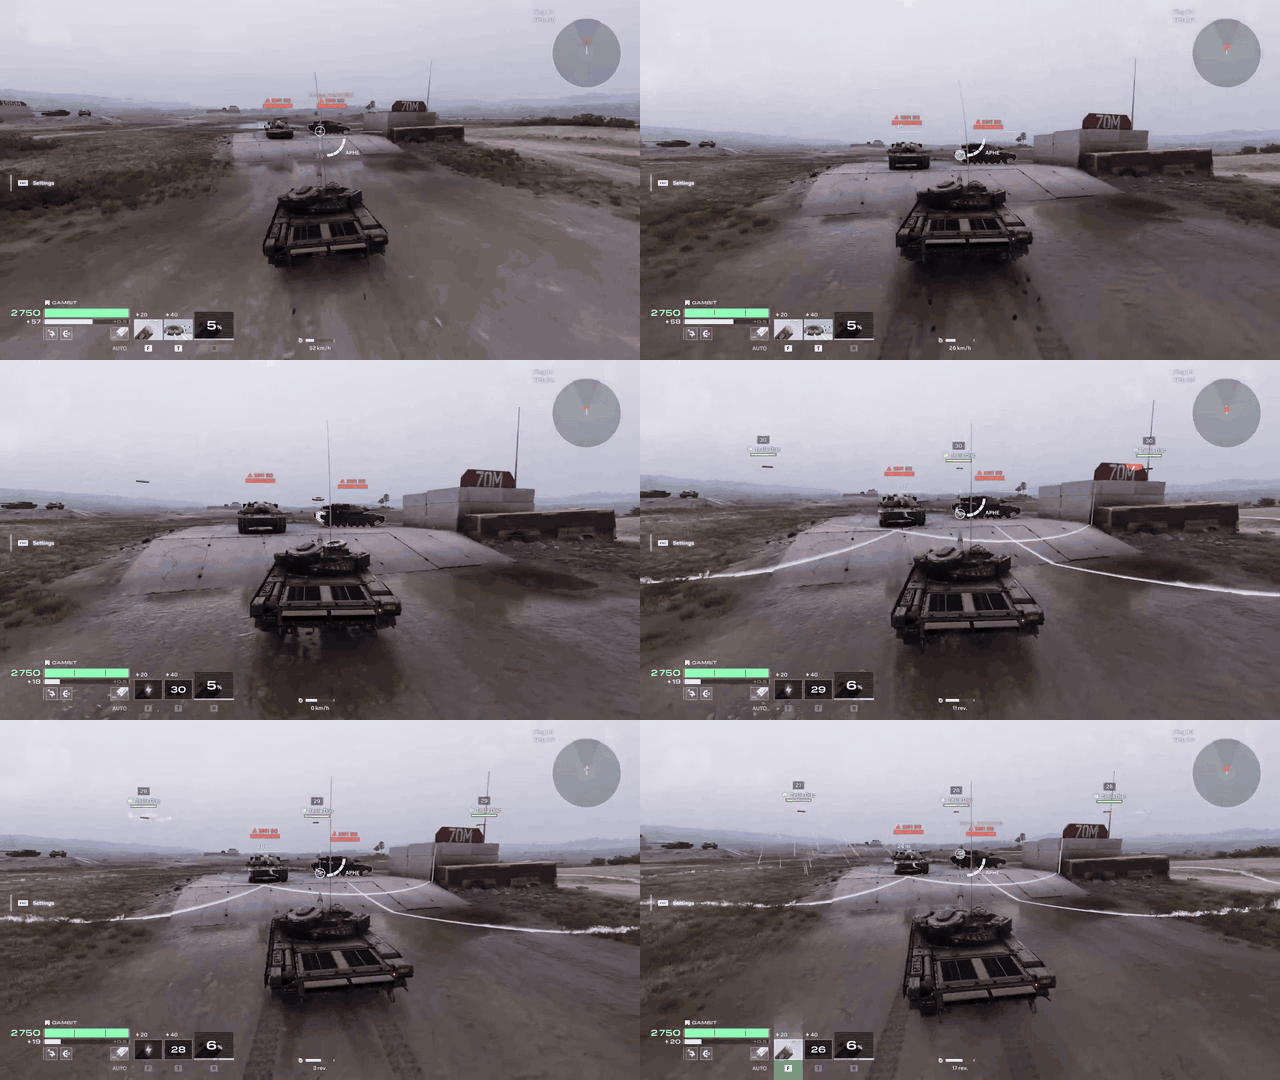
How to Play
Use Disruption Field Generator to blunt incoming fire before trading shots.
Aim the field at whoever is threatening you most, since it only affects enemies looking through it.
Place Tesla Discs to lock down chokepoints, objectives, or flanks.
Let the discs apply sustained Jamming and damage while you focus on other targets.
Fall back on your APHE shell for decisive single hits once the enemy is disrupted.
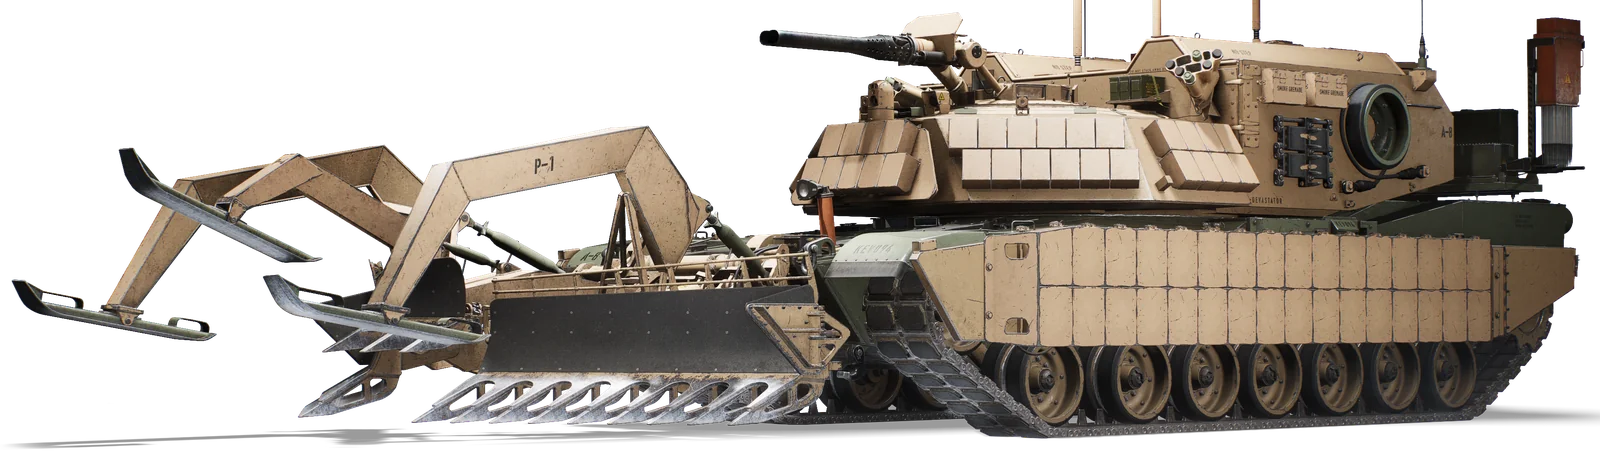
The M1150 ABV pairs a flamethrower turret weapon with explosive reactive armor along its sides, covering what would otherwise be thin side protection, plus reinforced frontal turret armor. It is built to get close, apply pressure, and control where the enemy can go.
Main Gun: Flamethrower
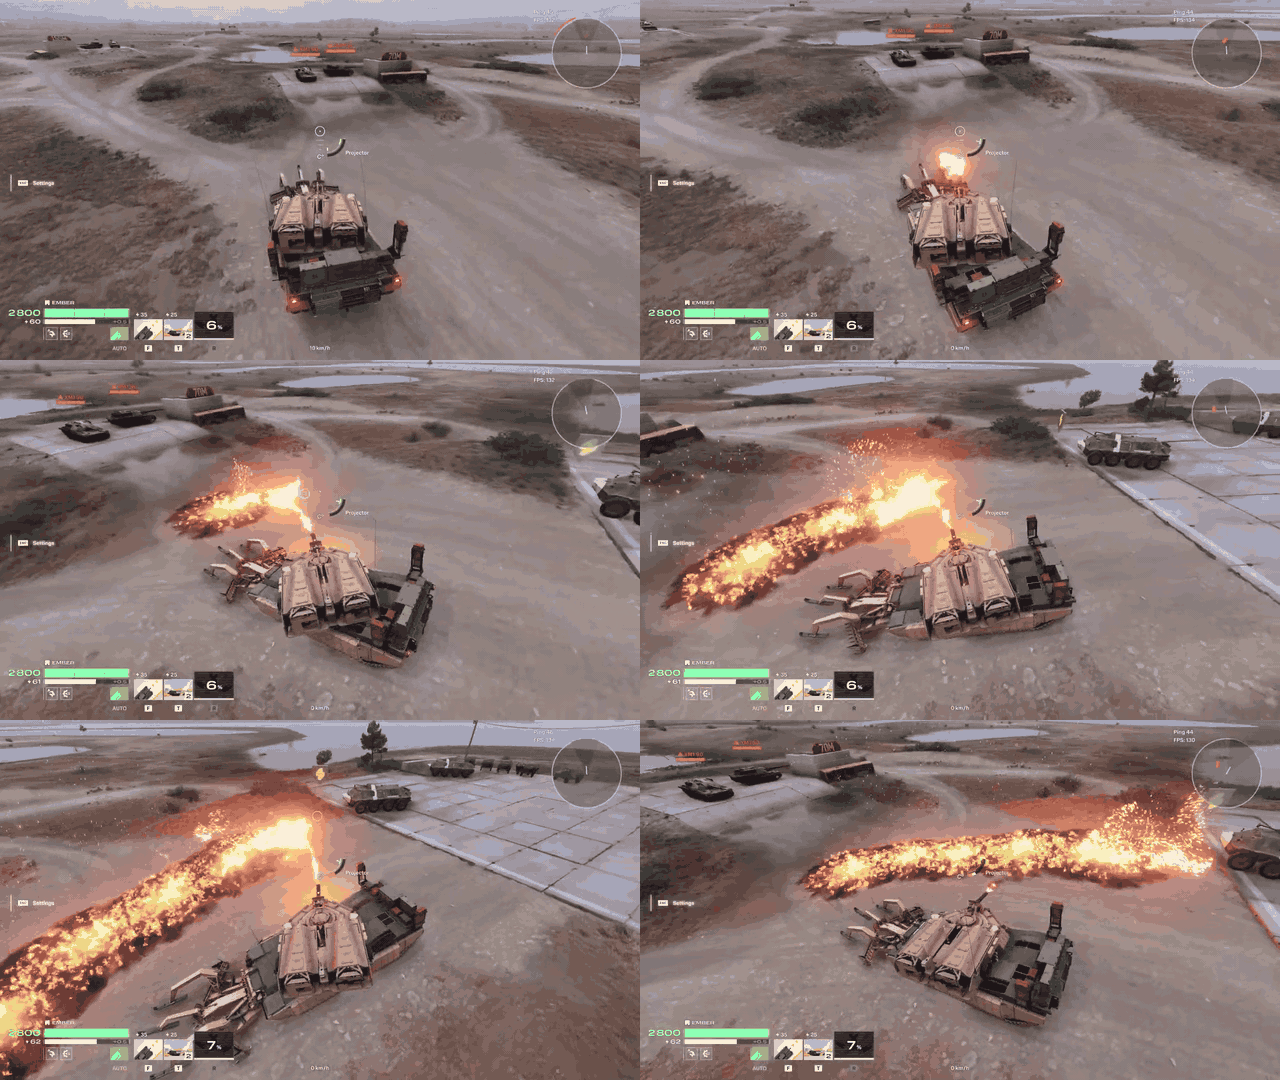
LMB shoots a stream of fire; RMB uses grease to set up bigger burns. This is an overheat weapon: fire continuously and the gun overheats, forcing a brief cooldown before you can shoot again. The M1150 Breacher pairs its flamethrower turret with explosive reactive armor along the sides - covering what would otherwise be thin side protection - plus reinforced frontal turret armor. It is built to get close, apply pressure, and control what the enemy can see and where they can go.
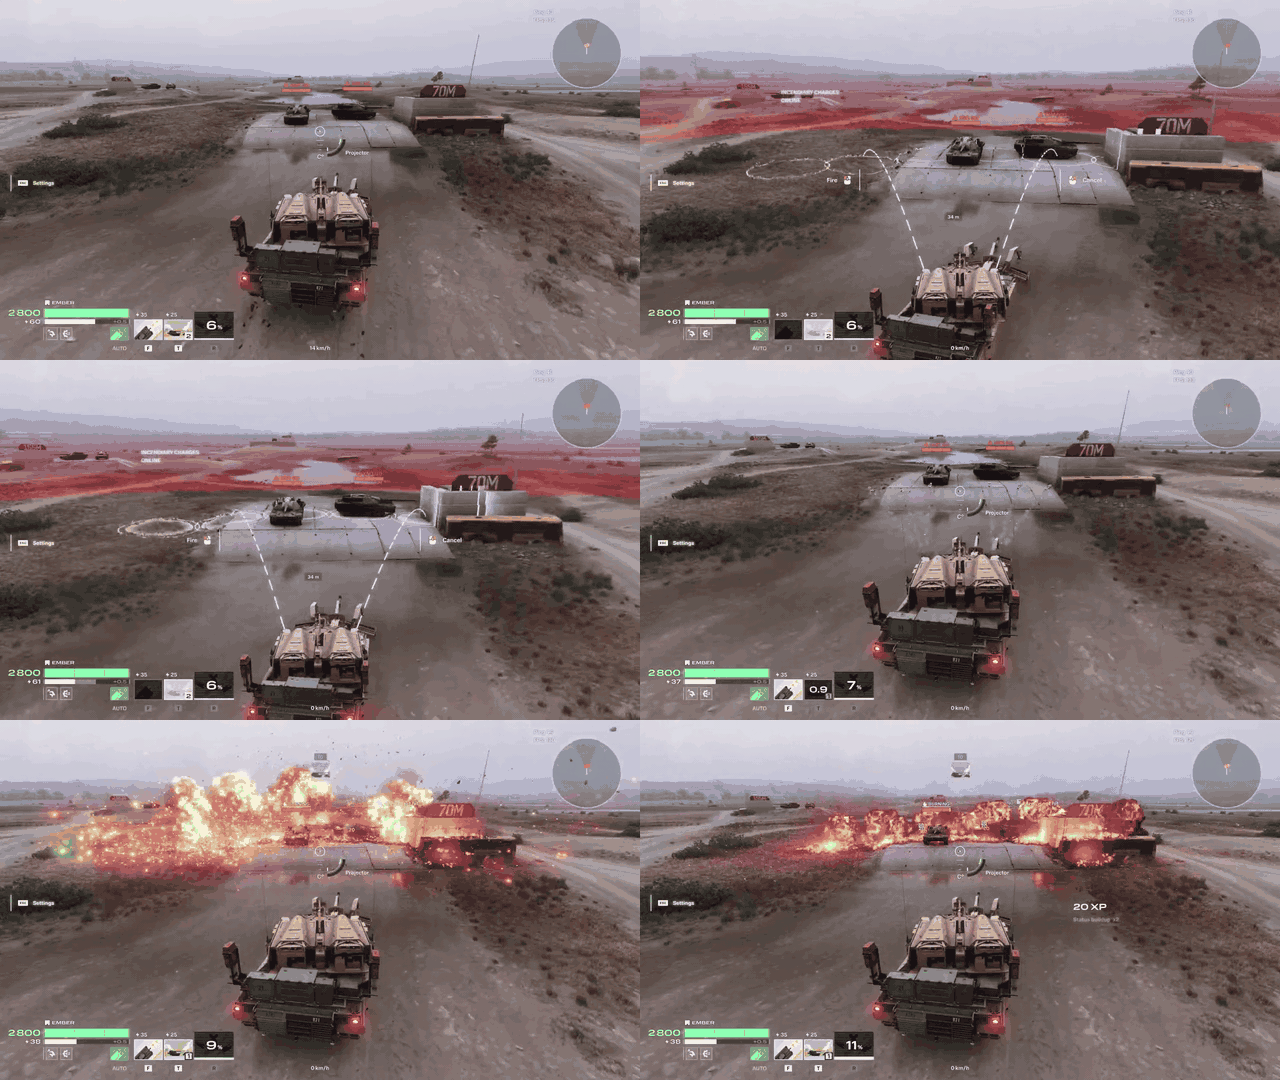
Launches a volley of munitions from the back of the turret in two parallel lines extending forward, which detonate simultaneously after landing. It works like a faster, smaller-scale area-denial tool, trading size and windup for speed. The projectiles can be intercepted by APS or other physics objects, and the turret cannot rotate while the ability is active. This ability can be interrupted by Jamming.
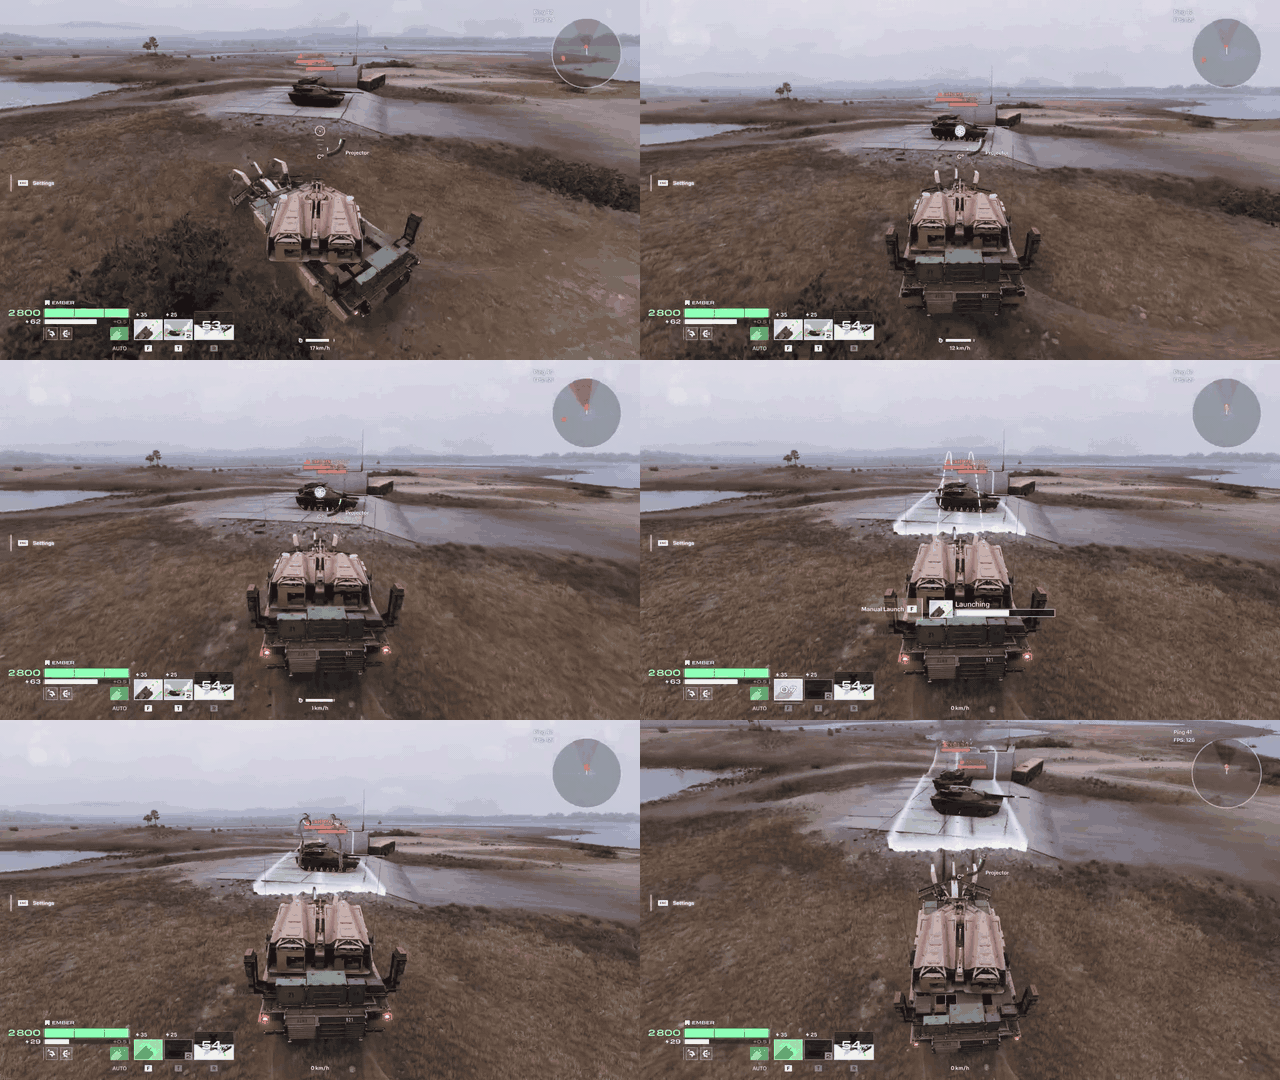
Fires projectiles roughly 40 meters out that create a combined fire zone and black smoke screen on impact, blocking both regular and thermal vision. It is built to cut enemies off from their team, isolating targets inside the smoke where they cannot easily see or be seen. Like Line Charges, these projectiles can be intercepted before landing, and the ability can be interrupted by Jamming.
How to Play
Push in close, where the flamethrower and reactive armor are most effective.
Use Line Charges for a fast, close-range burst against grouped enemies.
Deploy Incendiary Launchers to cut off an isolated target from support.
Rely on smoke to block thermal sighting as well as regular vision.
Lean on turret armor when facing return fire from the front.
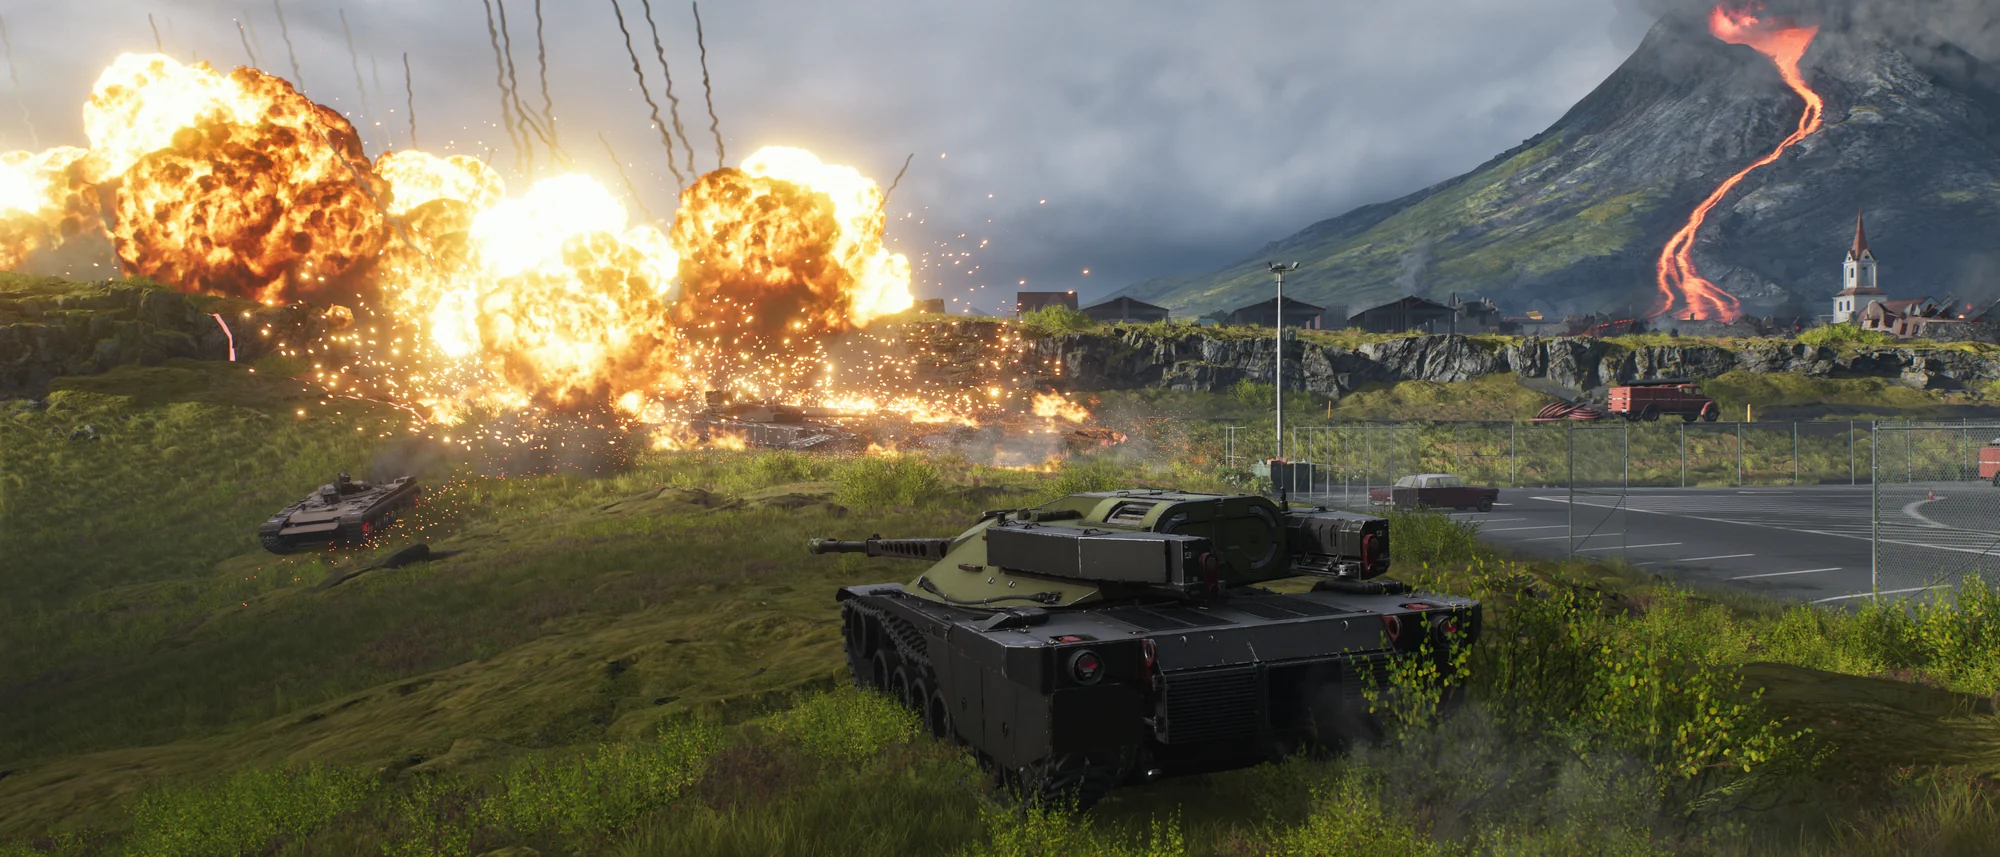
Sometimes nature forces our hand: open combat on Iceland was inevitable. One side focused on maintaining order, control, and safety. The other was desperate for change and freedom. Both anticipated who would move first, until the volcano decided for them.
When Inferno One exploded, sending lava flowing into the streets below, both sides moved in. With the town evacuated and the volcano still active, nobody could stop them. The winner would control the area and gain a significant advantage. The reward was worth the risk.
A new volcanic town map filled with close-quarters streets flooded with deadly lava flows.
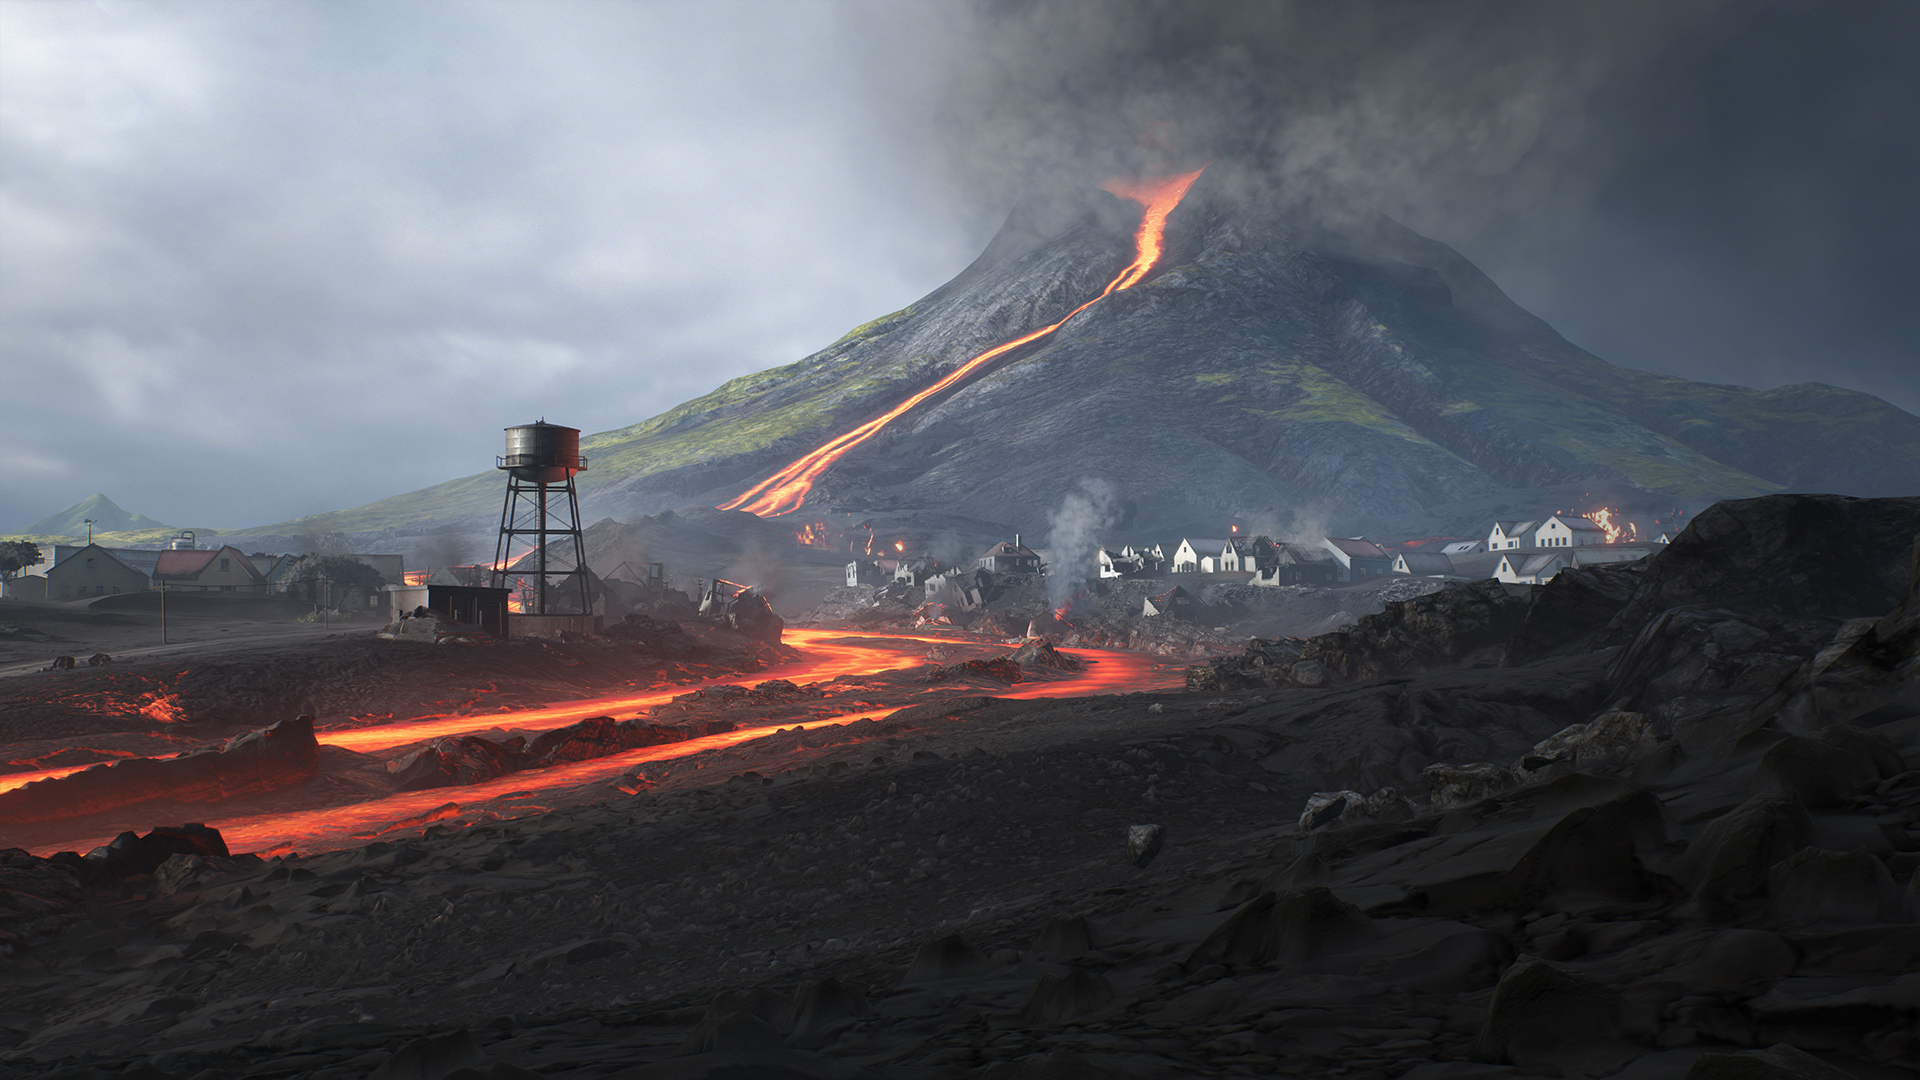
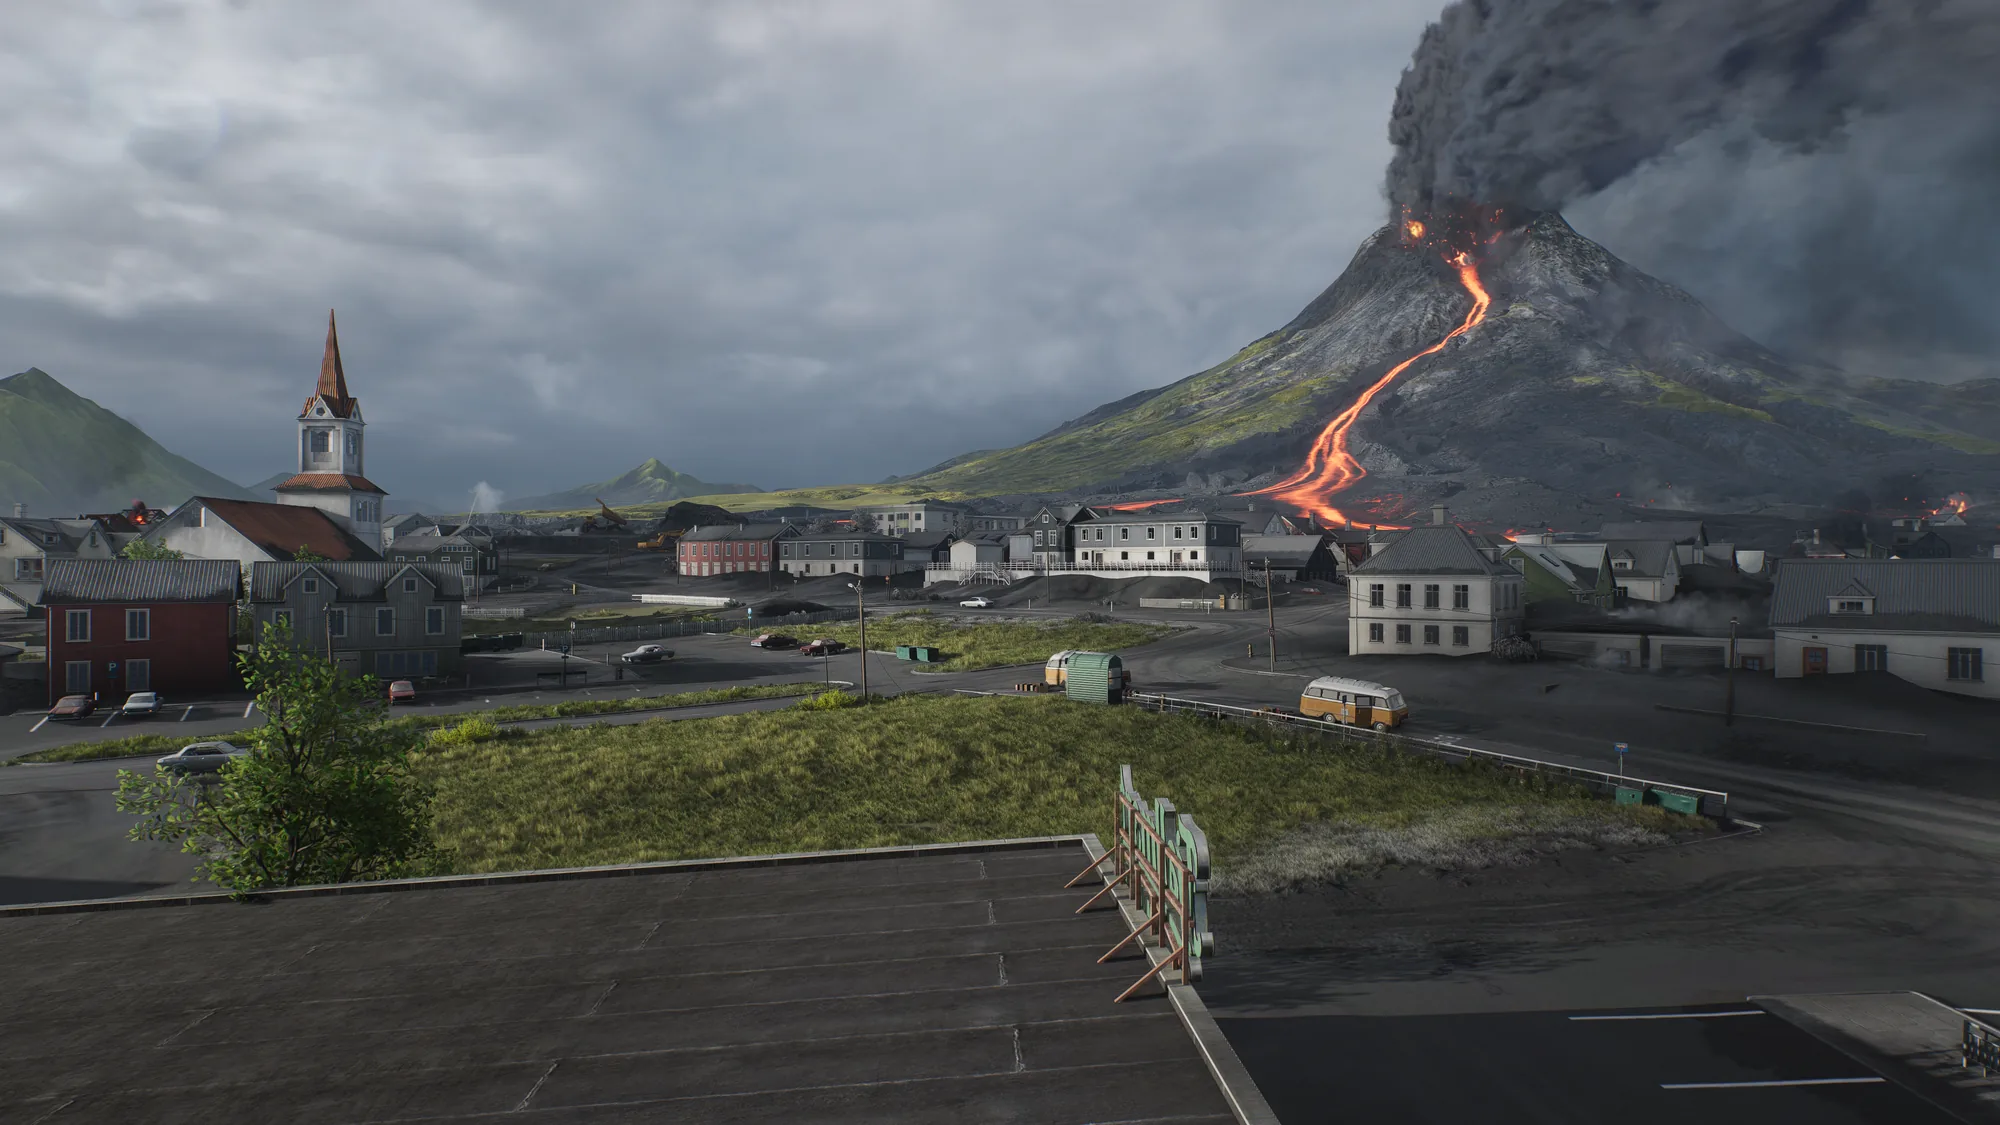
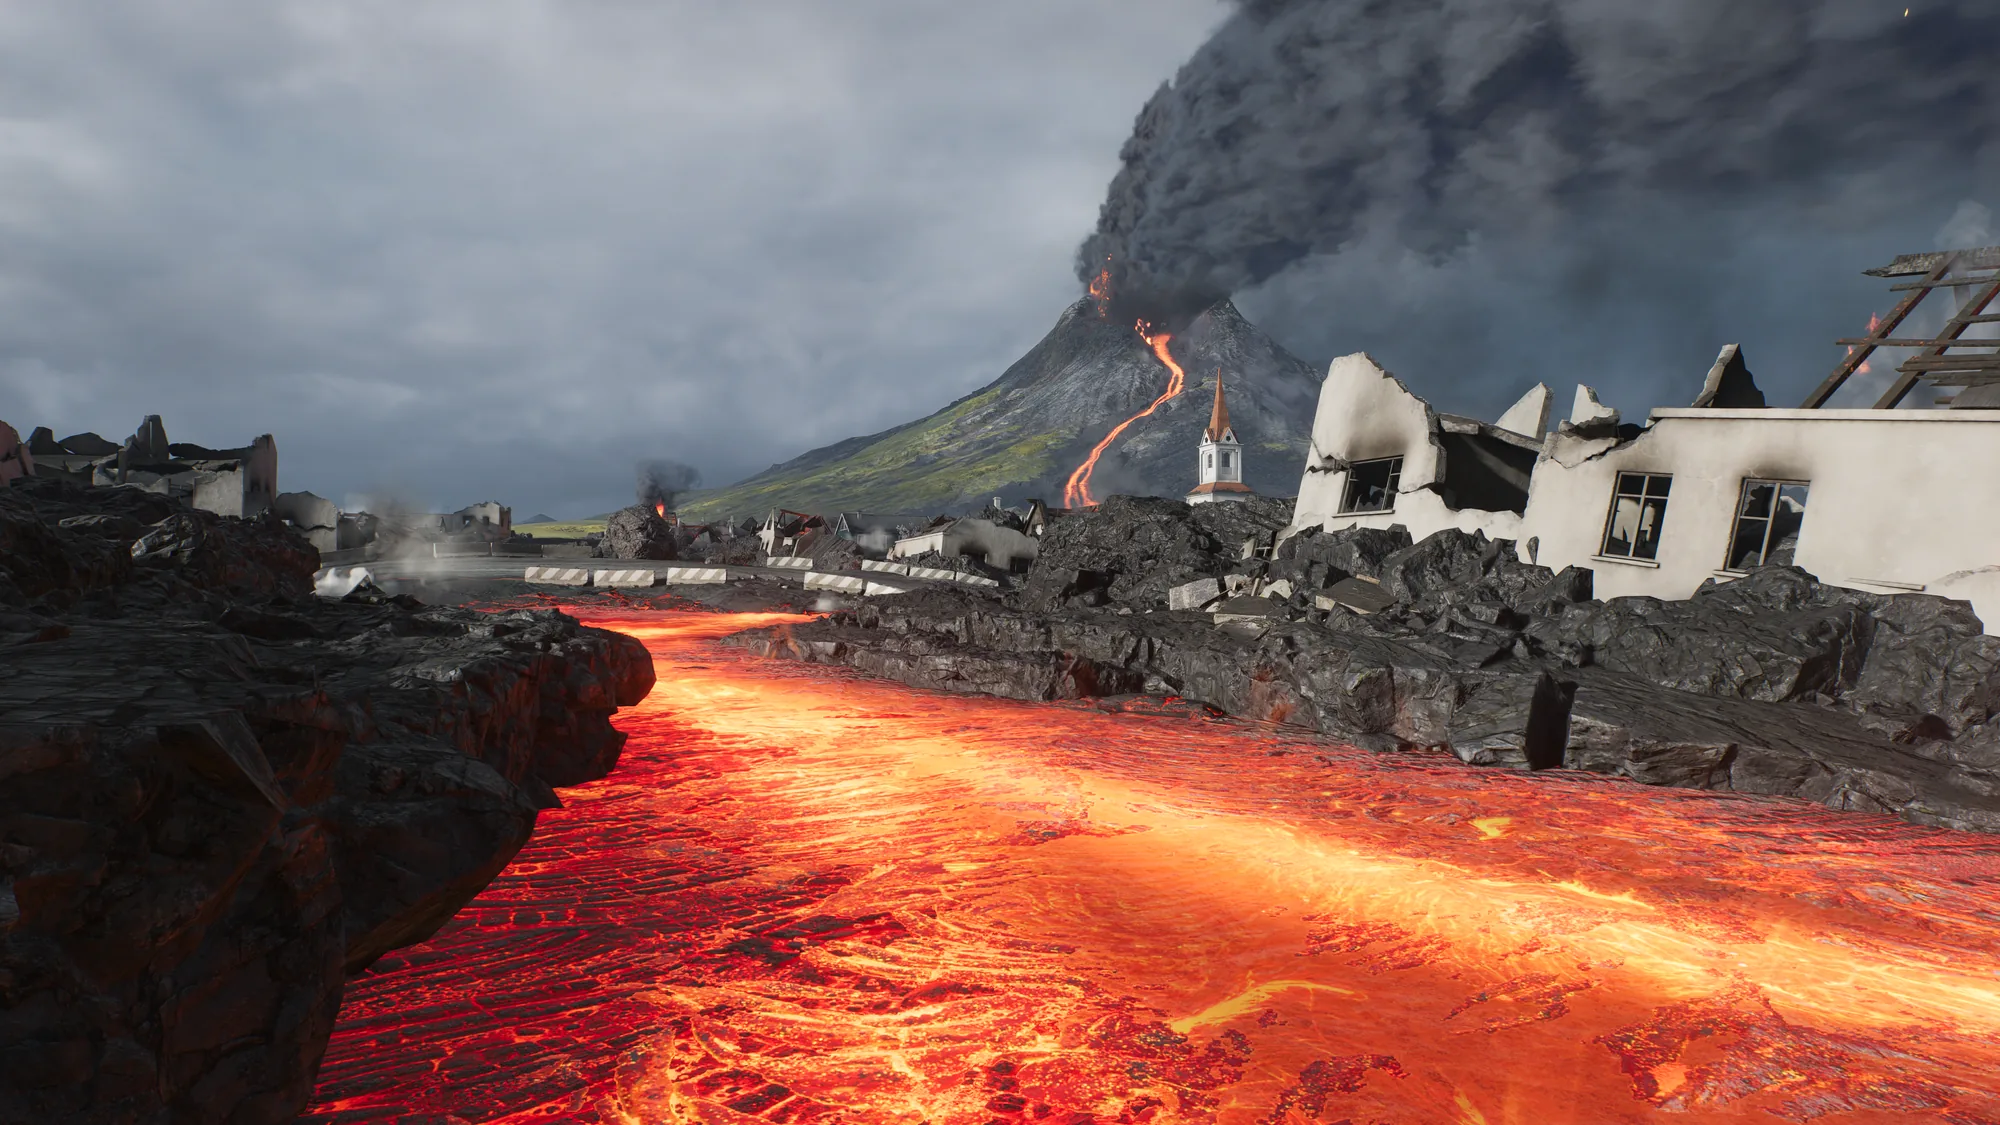
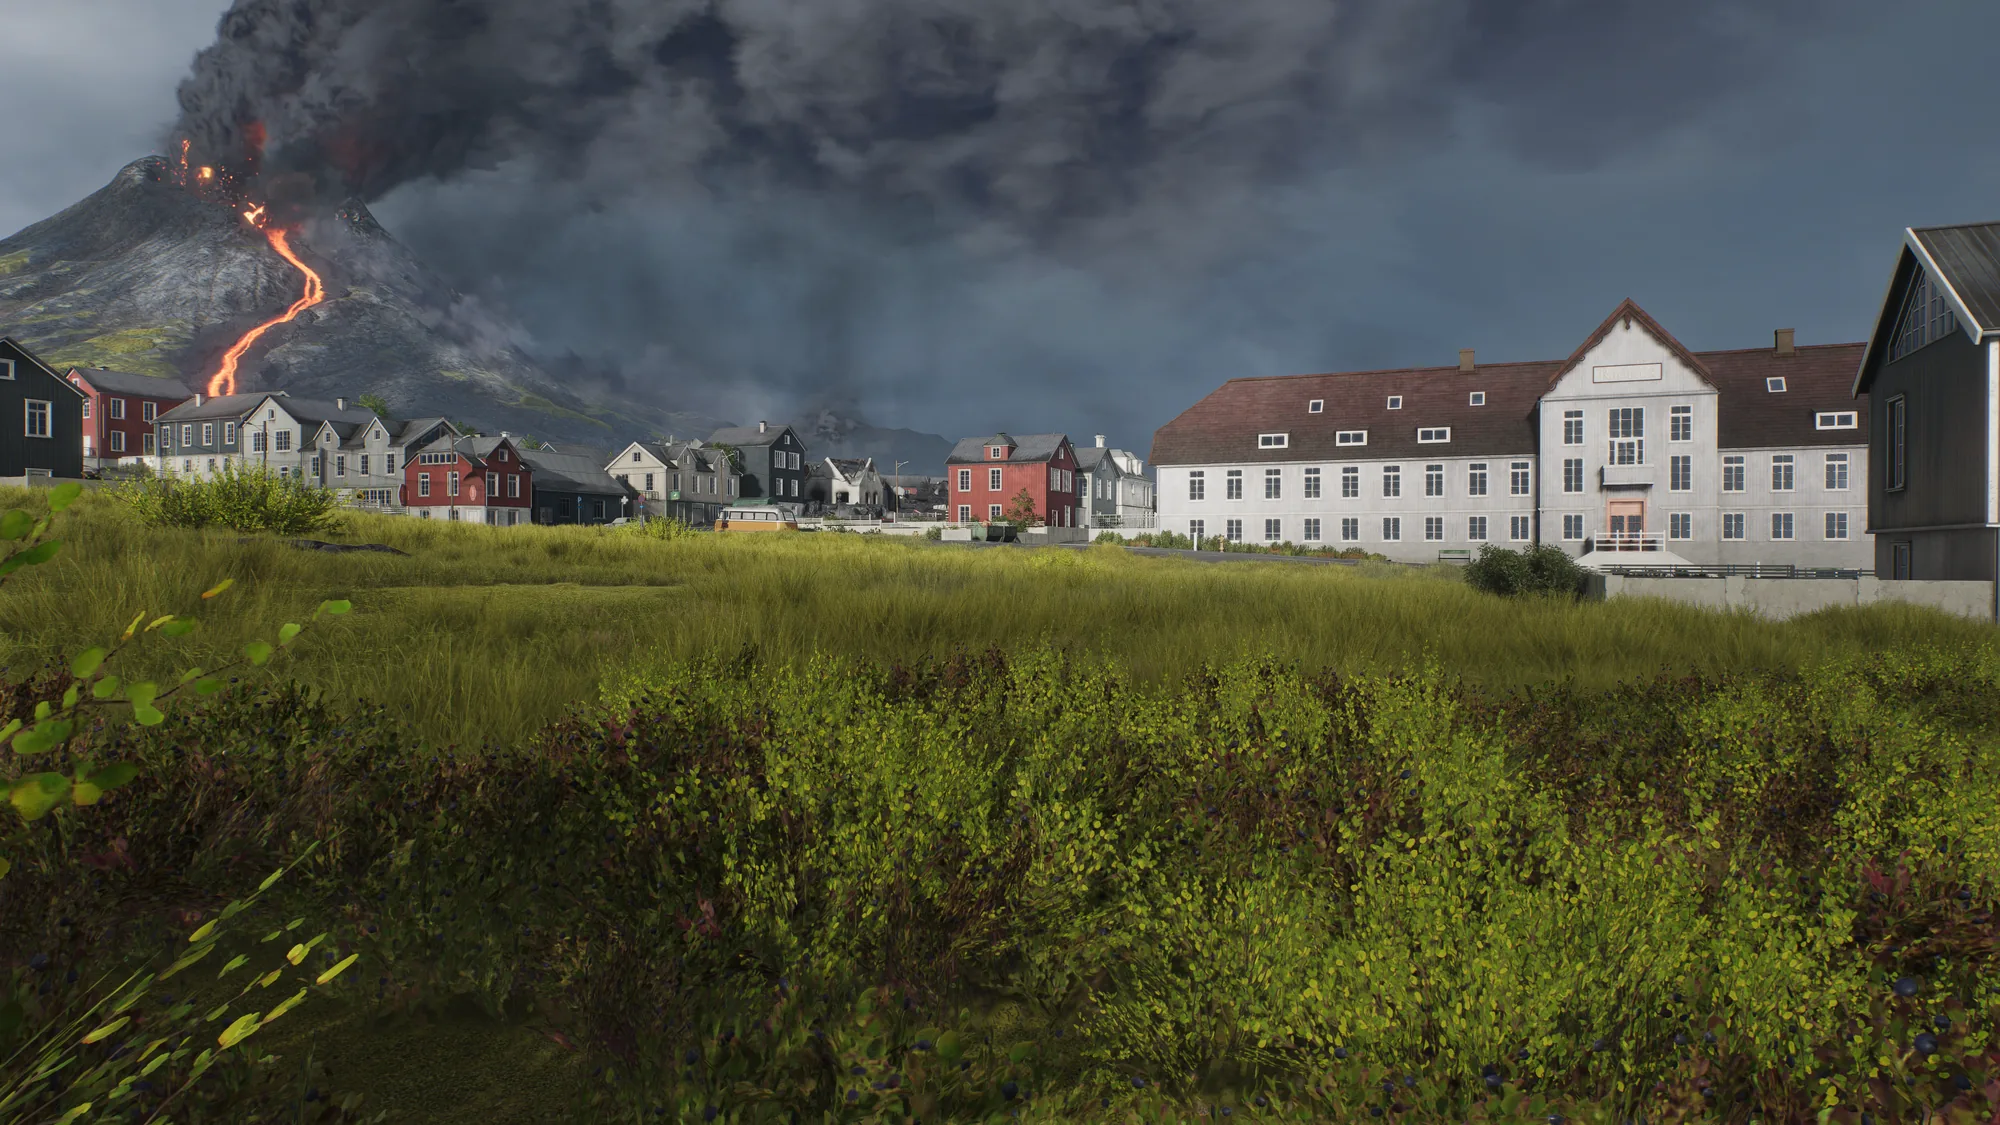
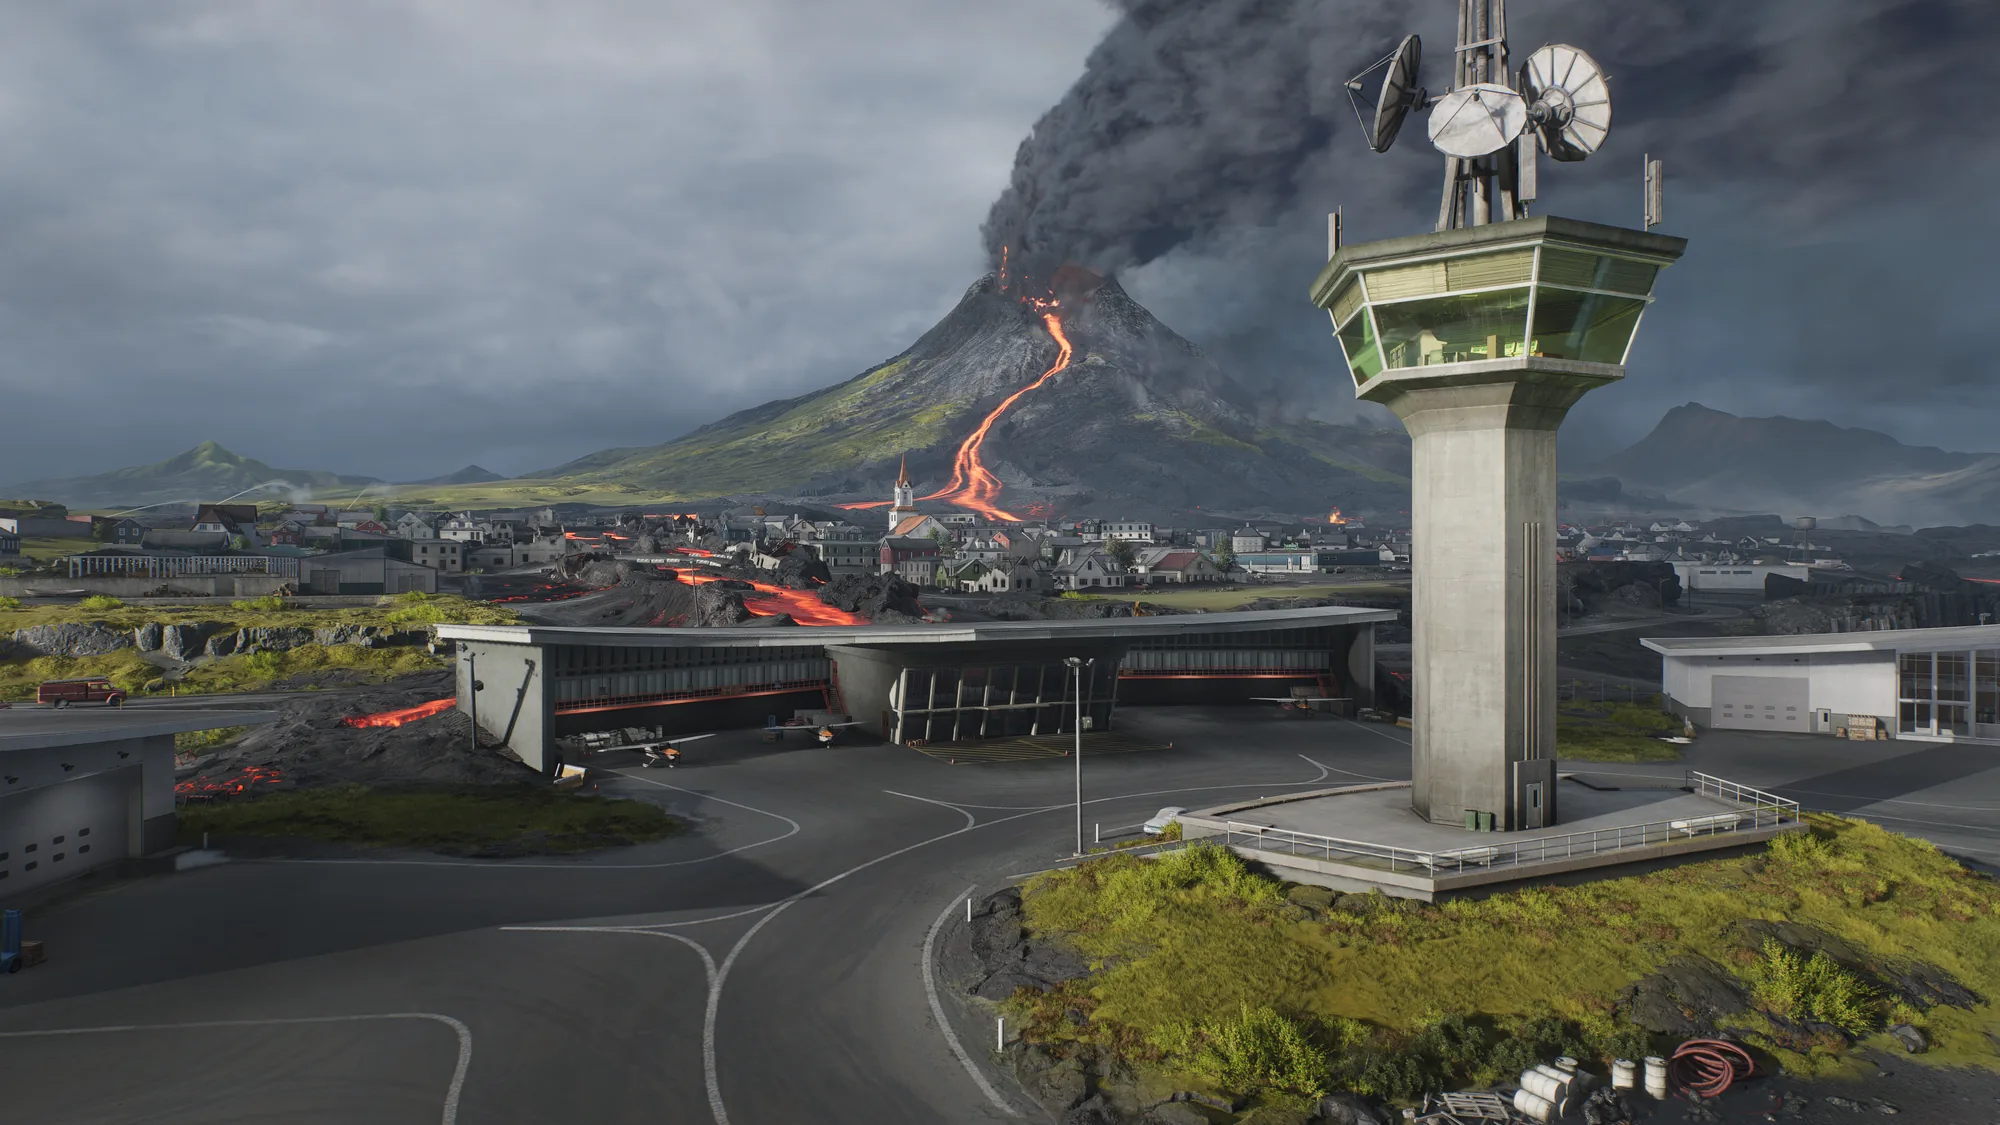
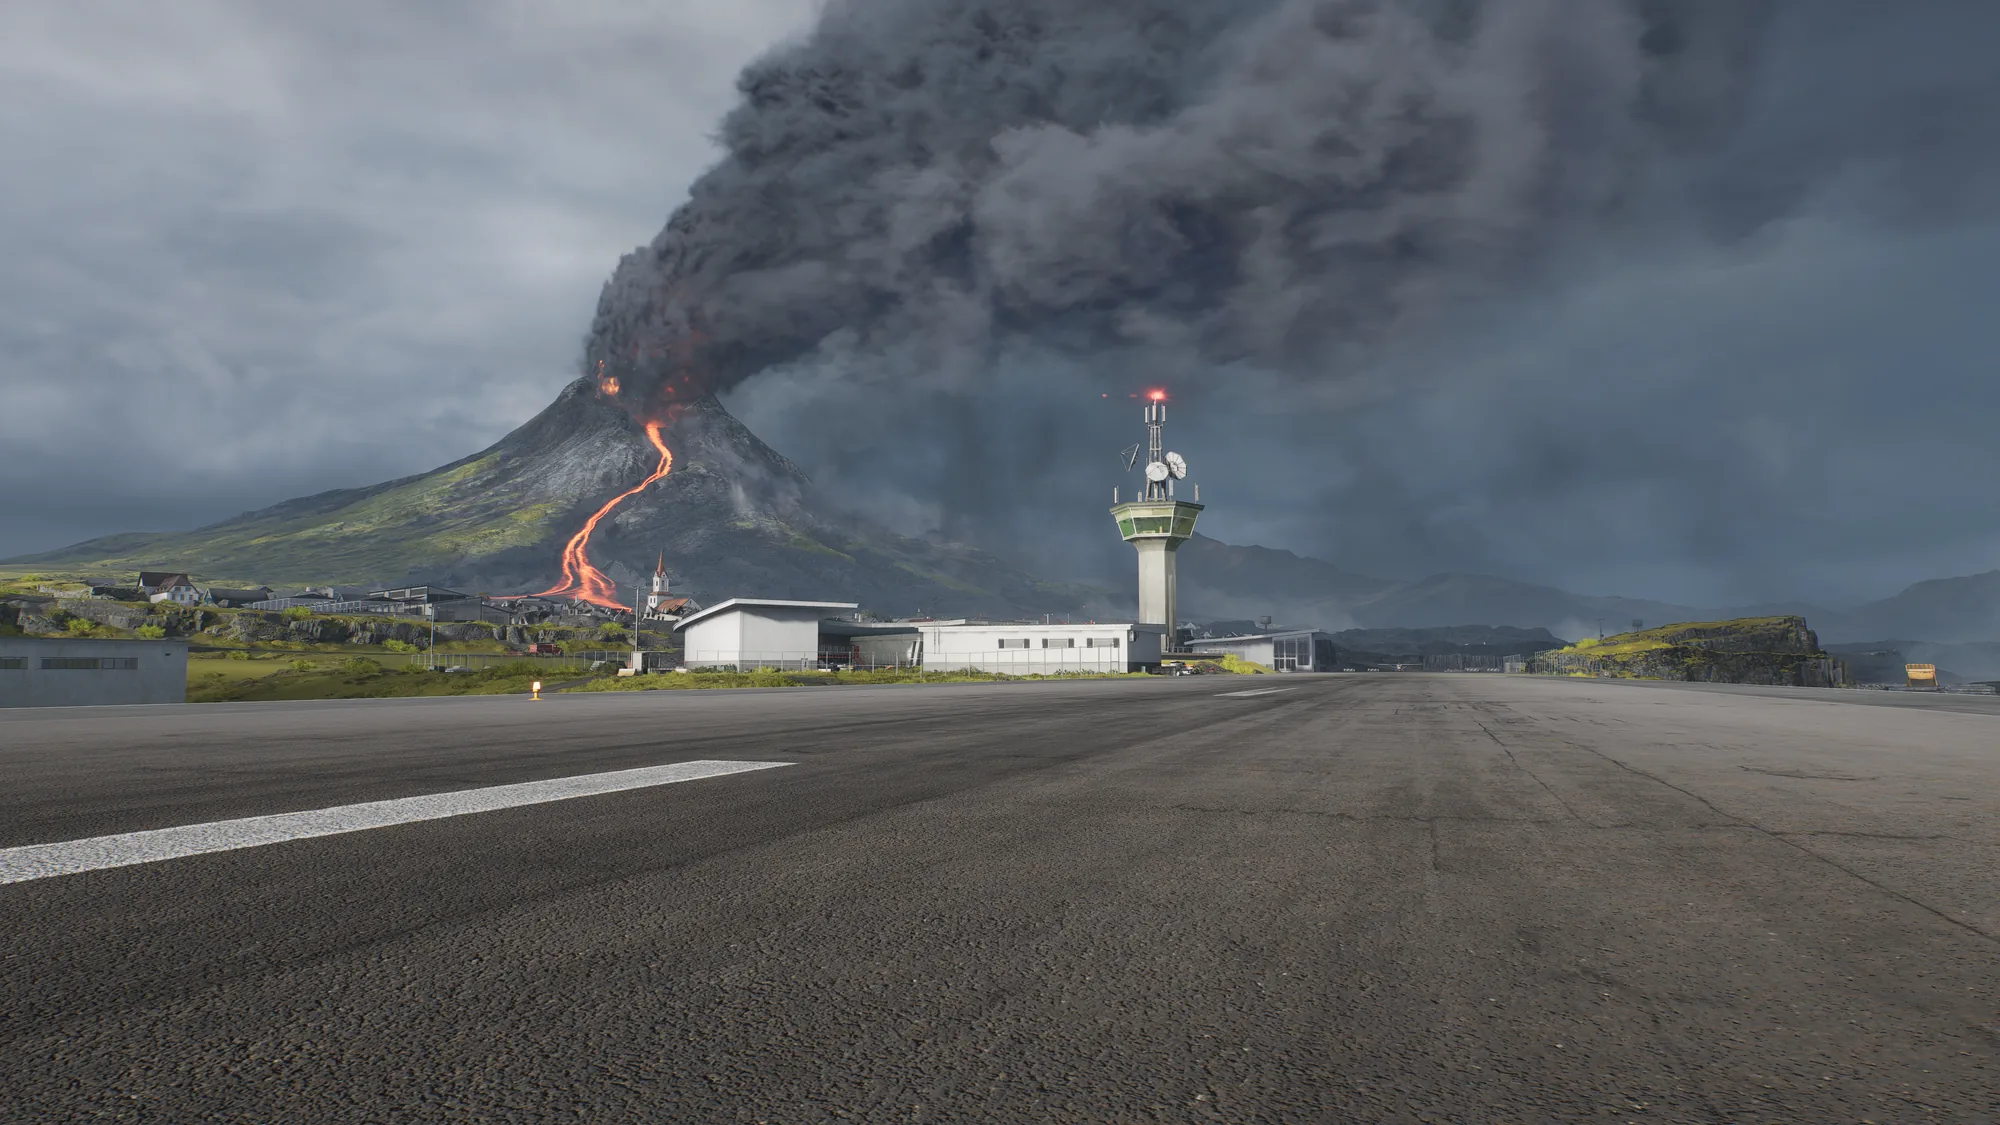
Inferno One is a volcanic town map, mixing residential streets and public facilities with the natural hazards of flowing lava. Expect tight, close-quarter fights through the town itself, opening into higher-risk zones with volcanic terrain surrounding them.
The town sits on an alternate Iceland in a volcanic region under Custodian Council control. It faces two crises at once: an active volcano towering above, and a deadly insurrection against the Council in the streets. As the exploding volcano set events in motion, both sides collided in the burning town. When the ashes settle, only one can be left standing.
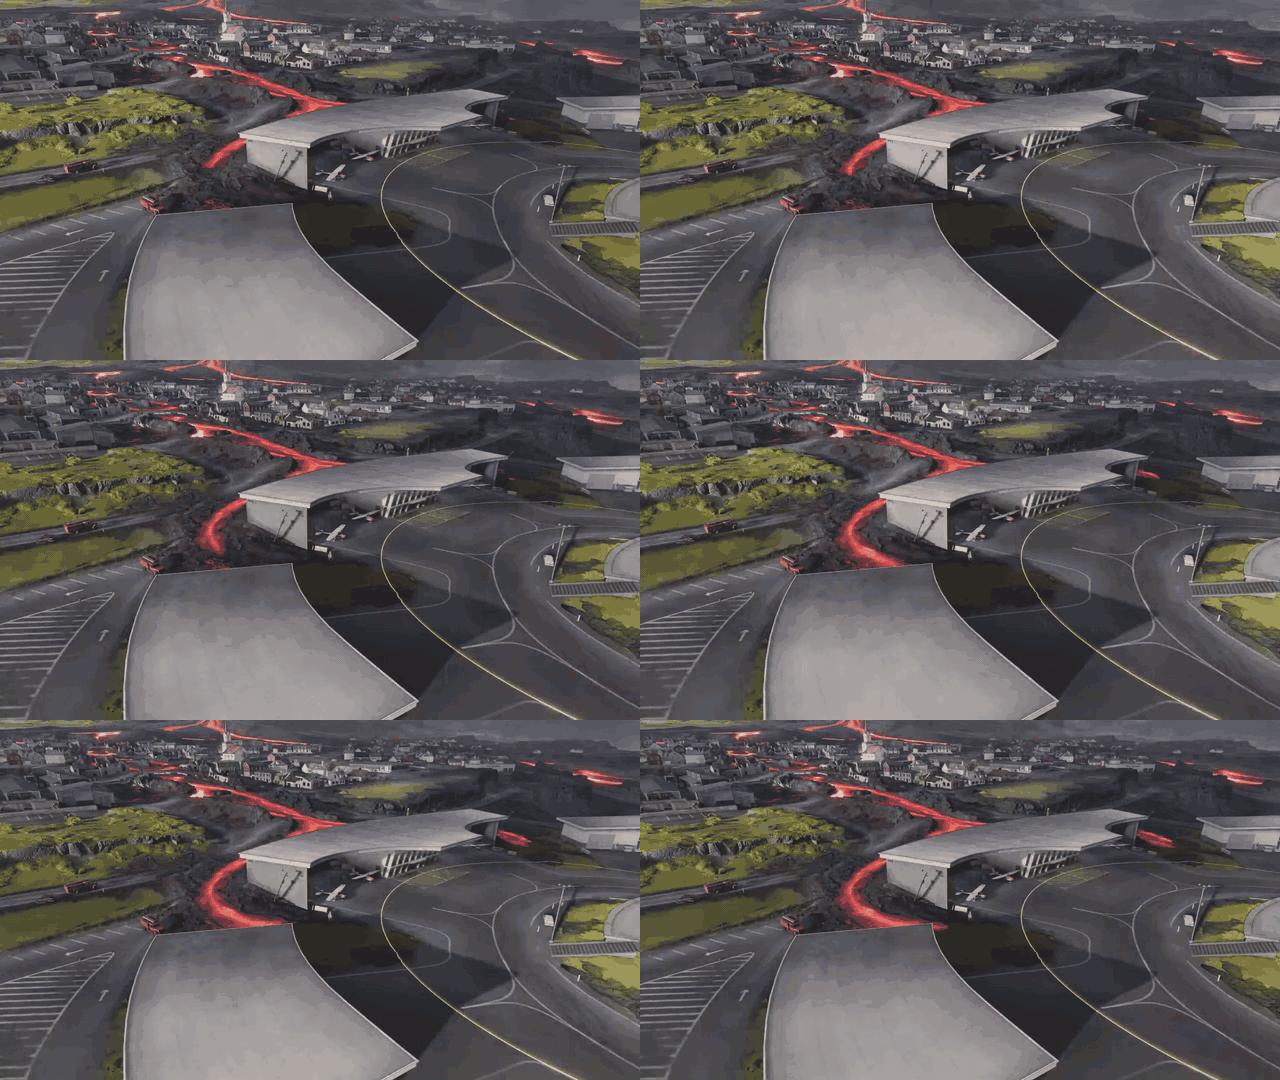
Inferno One will feature two game modes: 10 v 10 Conquest and Hardpoint. Lava here is a crucial, defining element, as it's in constant movement. From the moment the match begins, it starts creeping toward Base C, and over the course of the match it will keep flowing, swallowing cover, choke points, and comfort zones one section at a time.
There is a limit to how far it can spread, but by the time it stops, Base C will look nothing like it did at the start.
Just like last season, Season 2 runs on a single track. You move through it by playing matches and completing missions, earning Intel as you progress. There's a Premium Pass that changes the order you claim rewards in. On the free track, rewards unlock in sequence as you progress; with Premium, you can claim any unlocked reward in whatever order you want. The Premium Battle Pass costs 1,000 HEAT-Coins. What Premium doesn't do matters just as much: it never gates, adds, or changes what's on the track. Every reward is earnable for free. That includes both new vehicles. The M60A3E2 and the T-72SH sit right on the track and unlock as you play through the pass, with no purchase required to earn either one. The rest of the track mixes cosmetics, currency, and progression rewards.
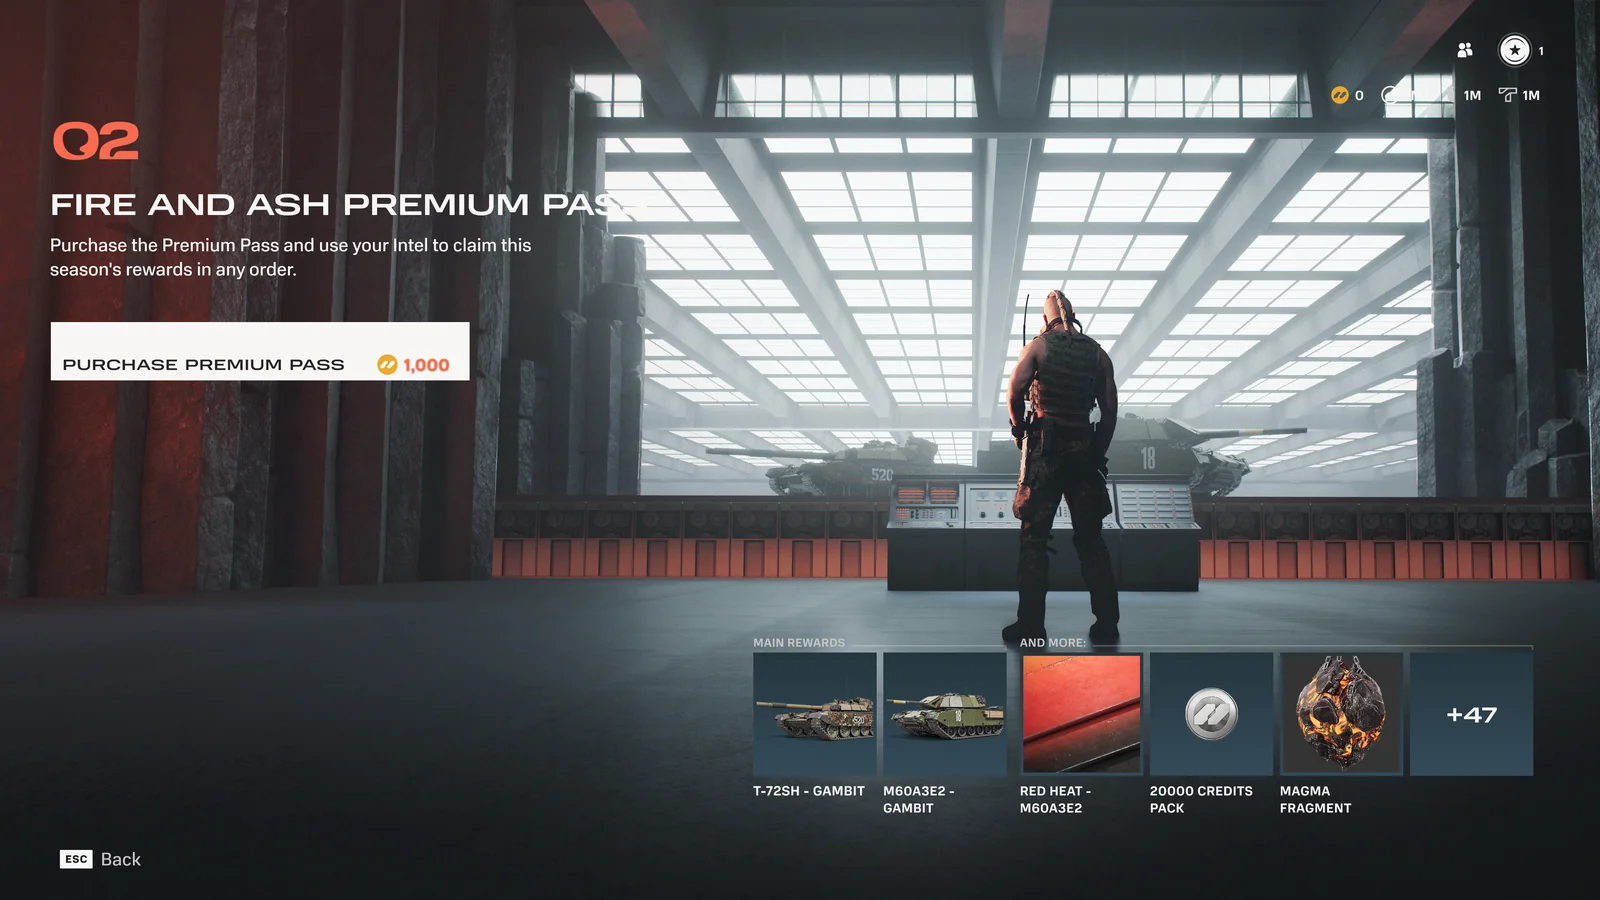
Premium Battle Pass
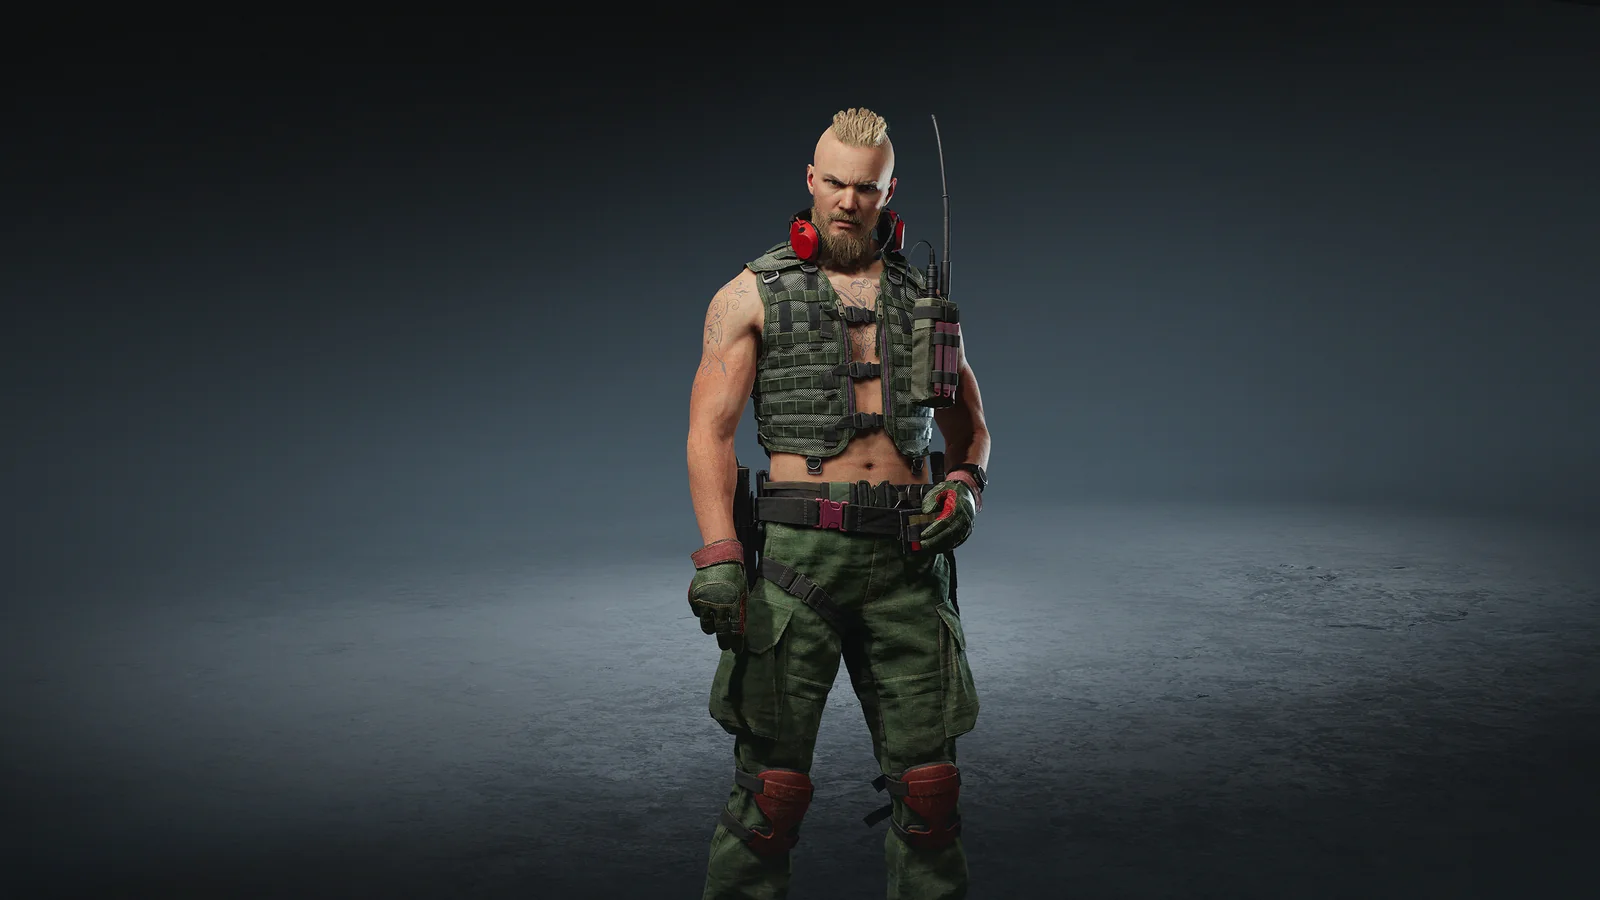
New Gambit Forest Fire skin
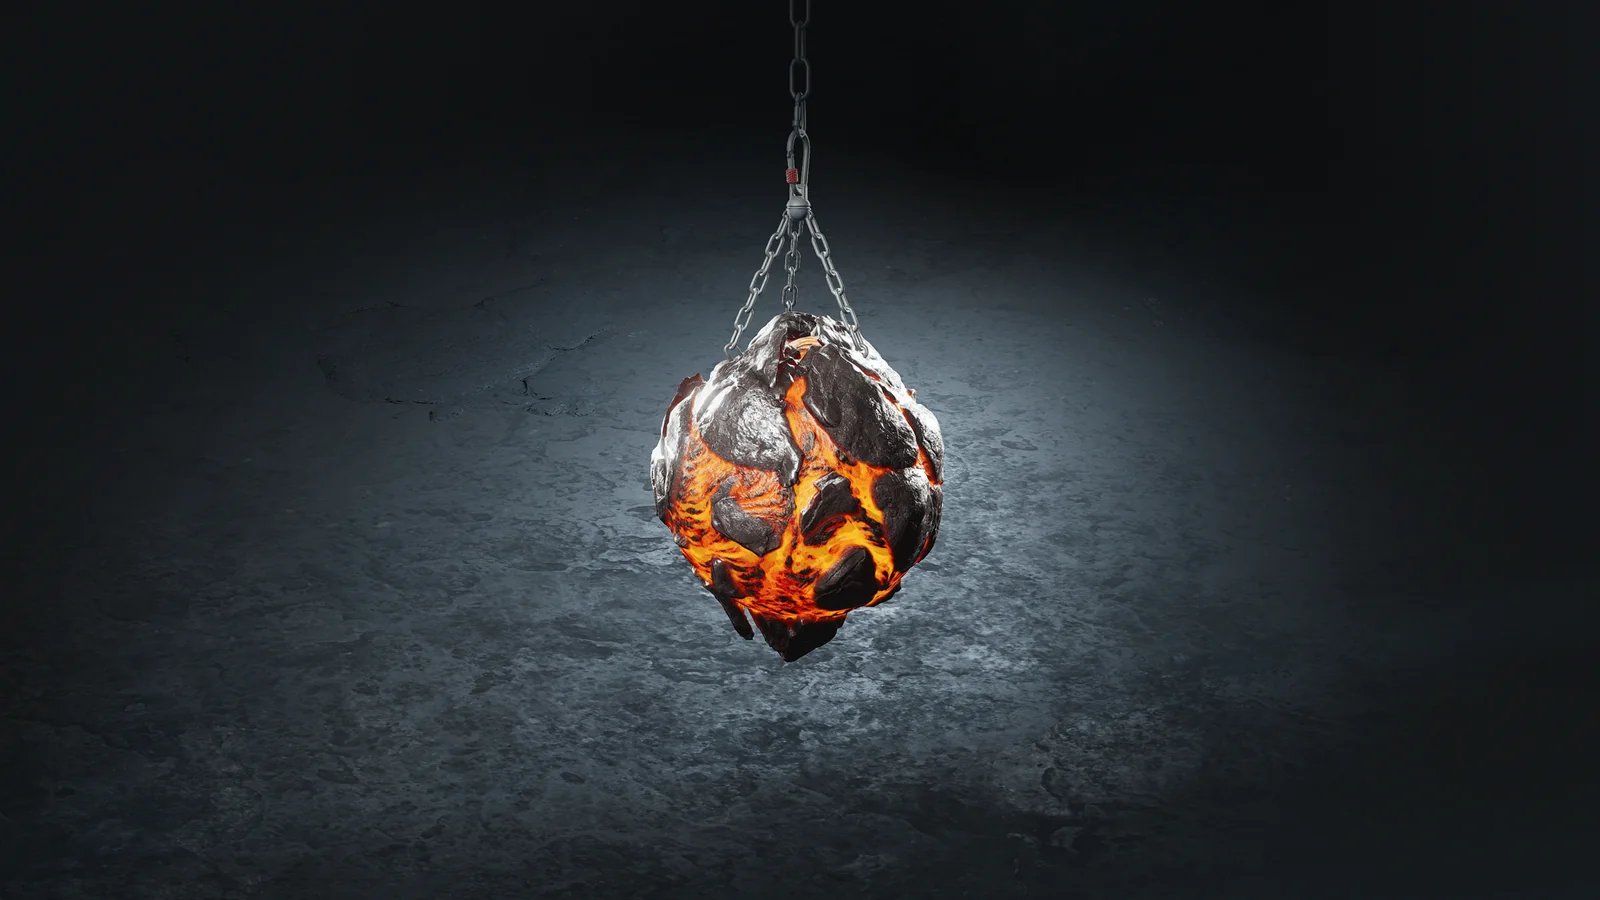
New Magma Fragment charm
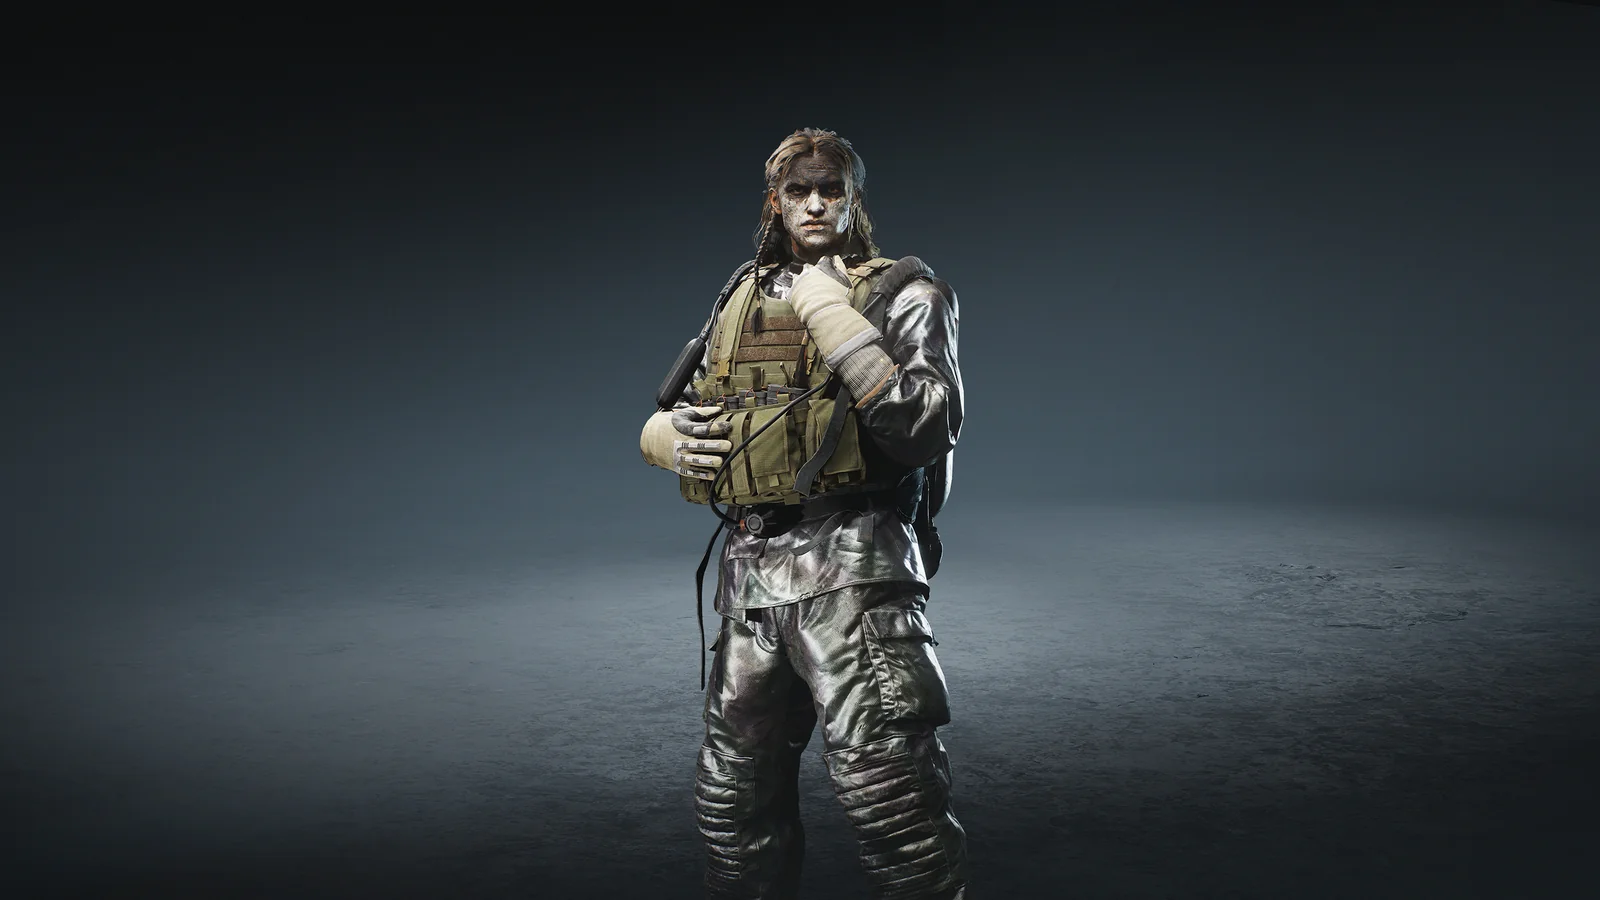
New Reaper Controlled Burn skin
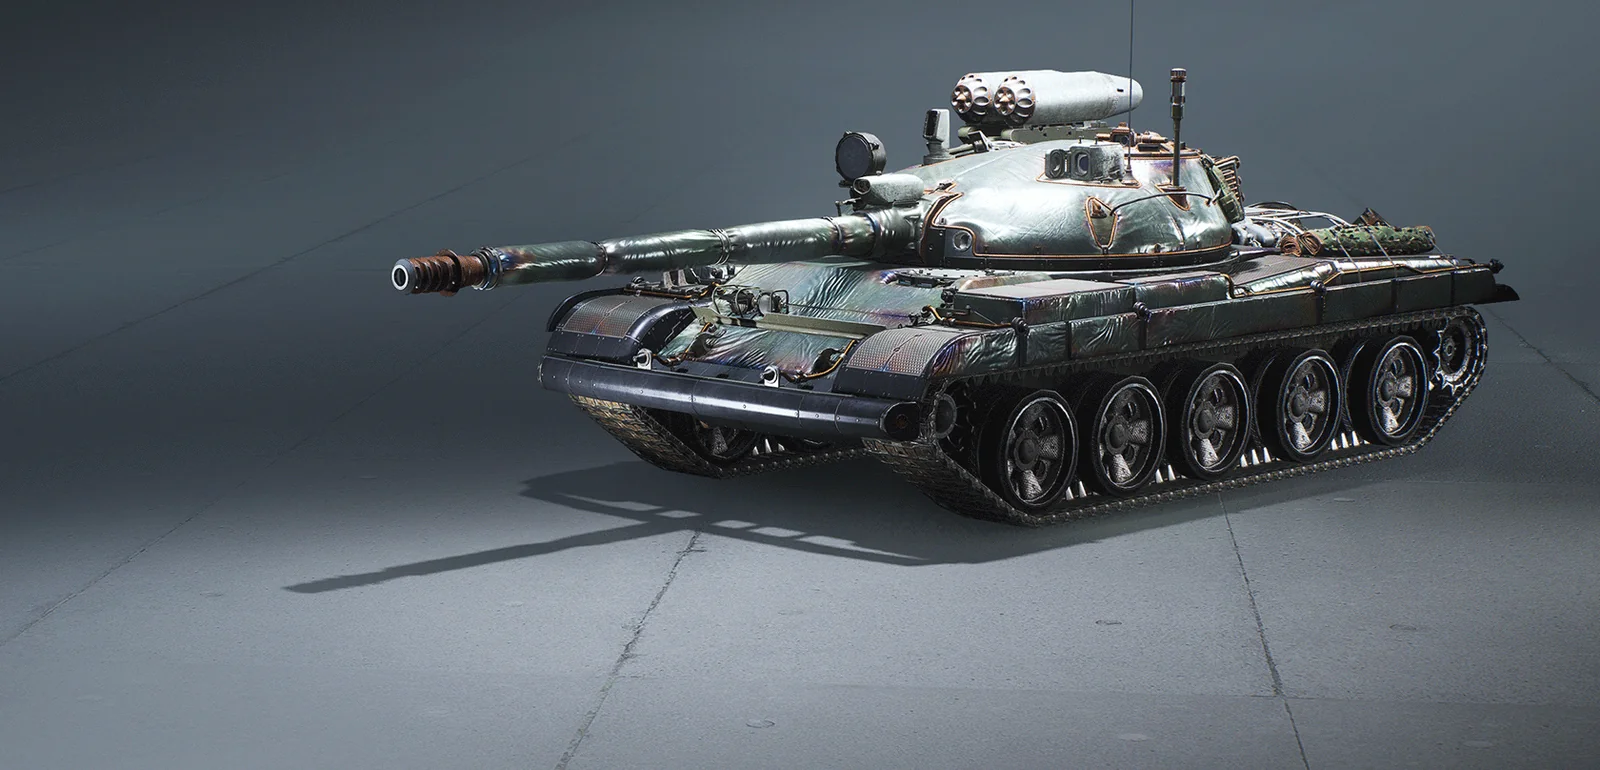
New 3D skin "Eruption" for T-62
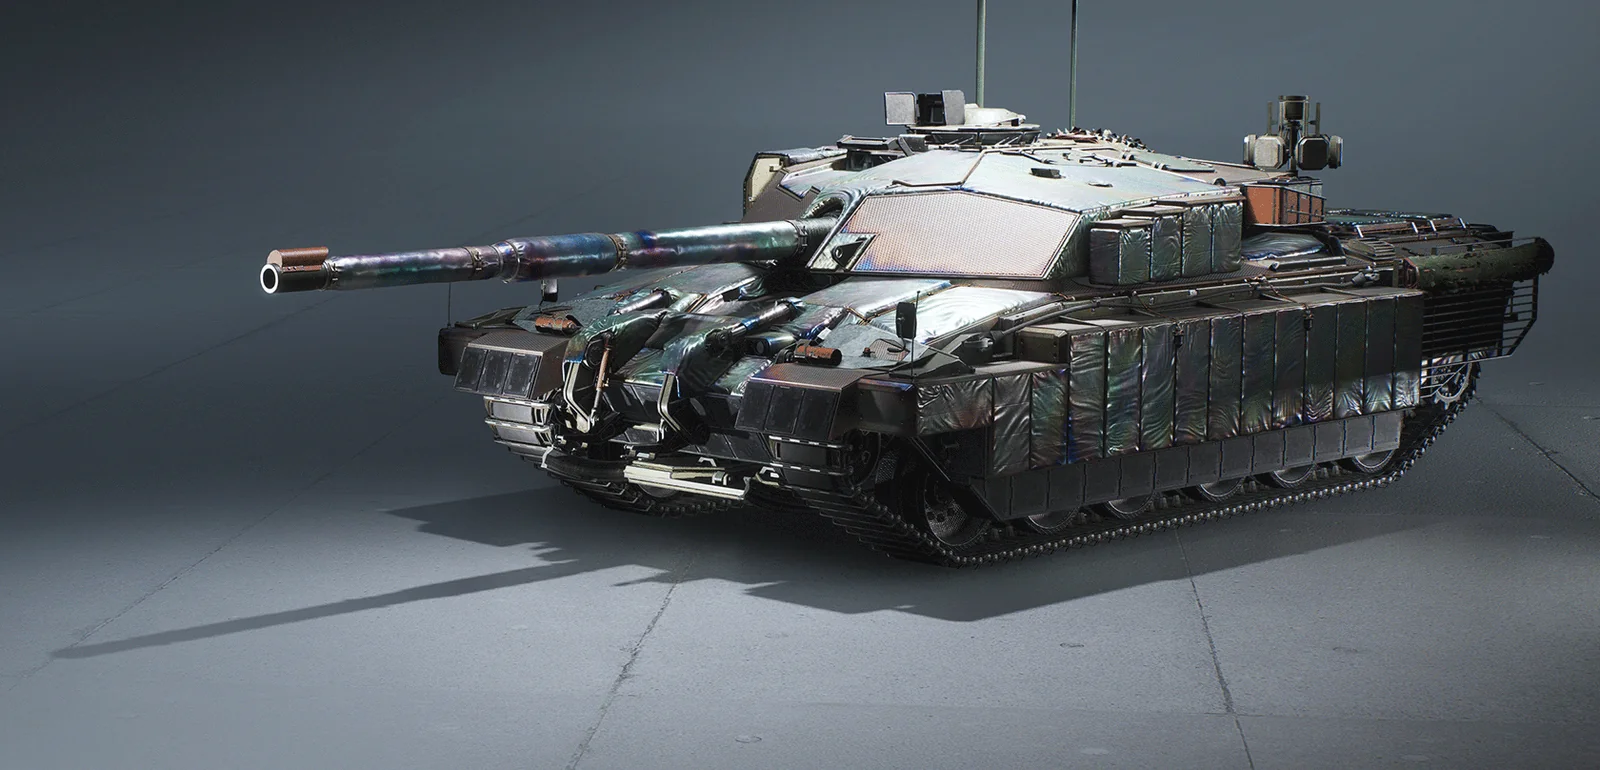
New 3D skin "Heat Shield" for FV 4030
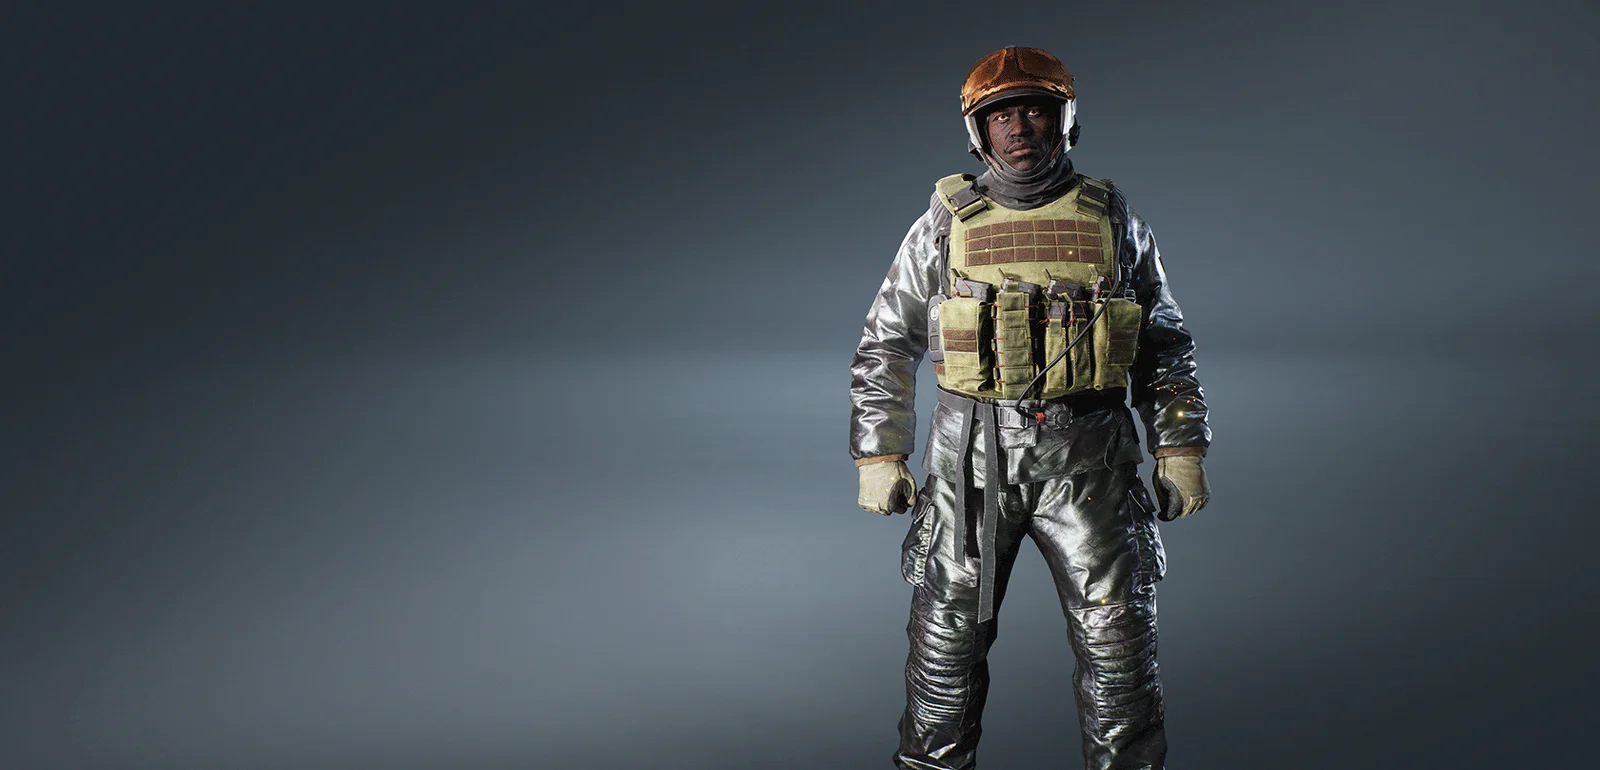
New Agent skin for Chopper
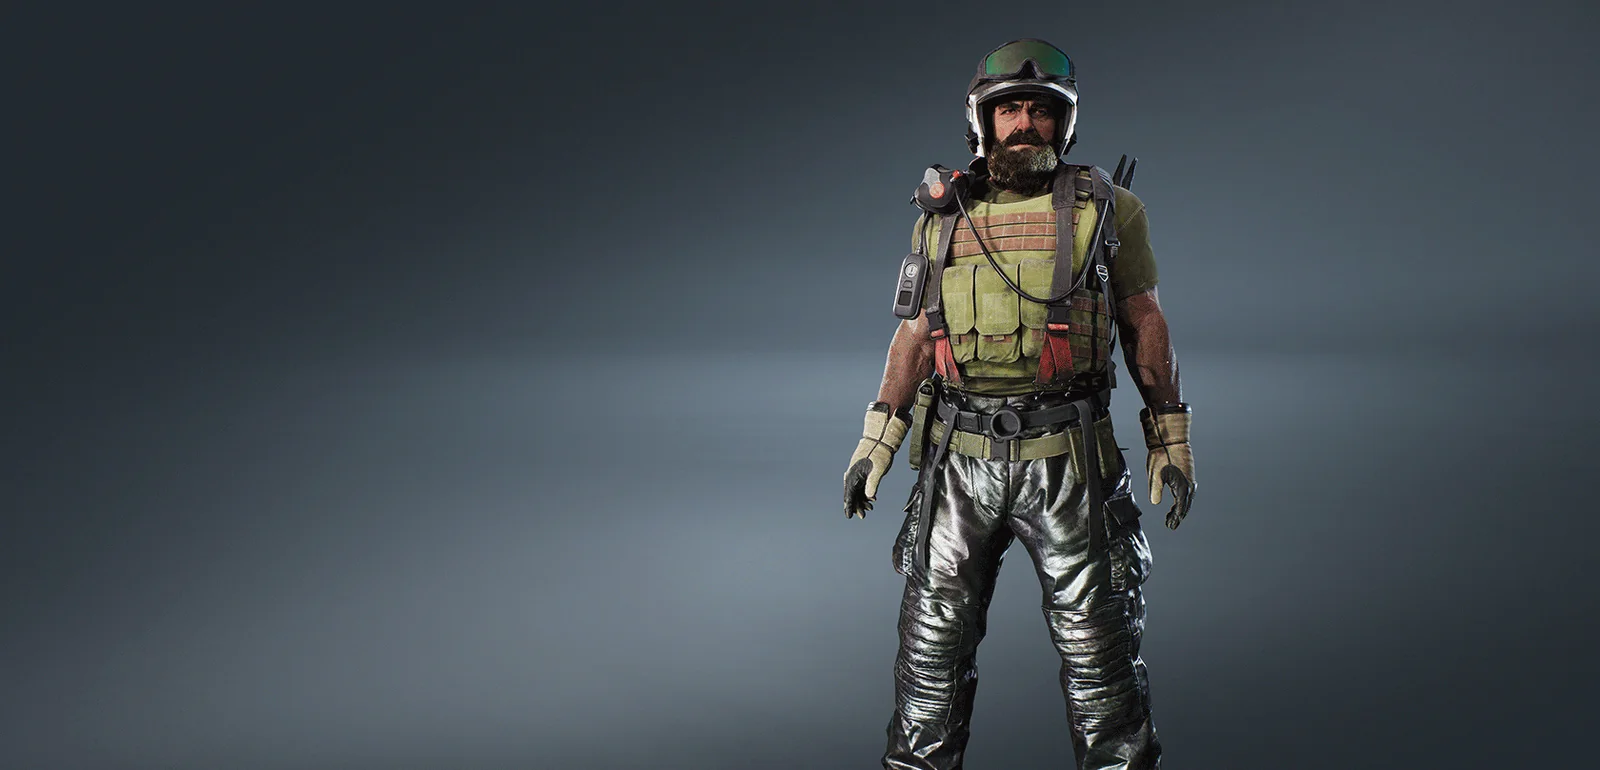
New Agent skin for Raketa
Not all content is available immediately. Be sure to check the shop for new offers.
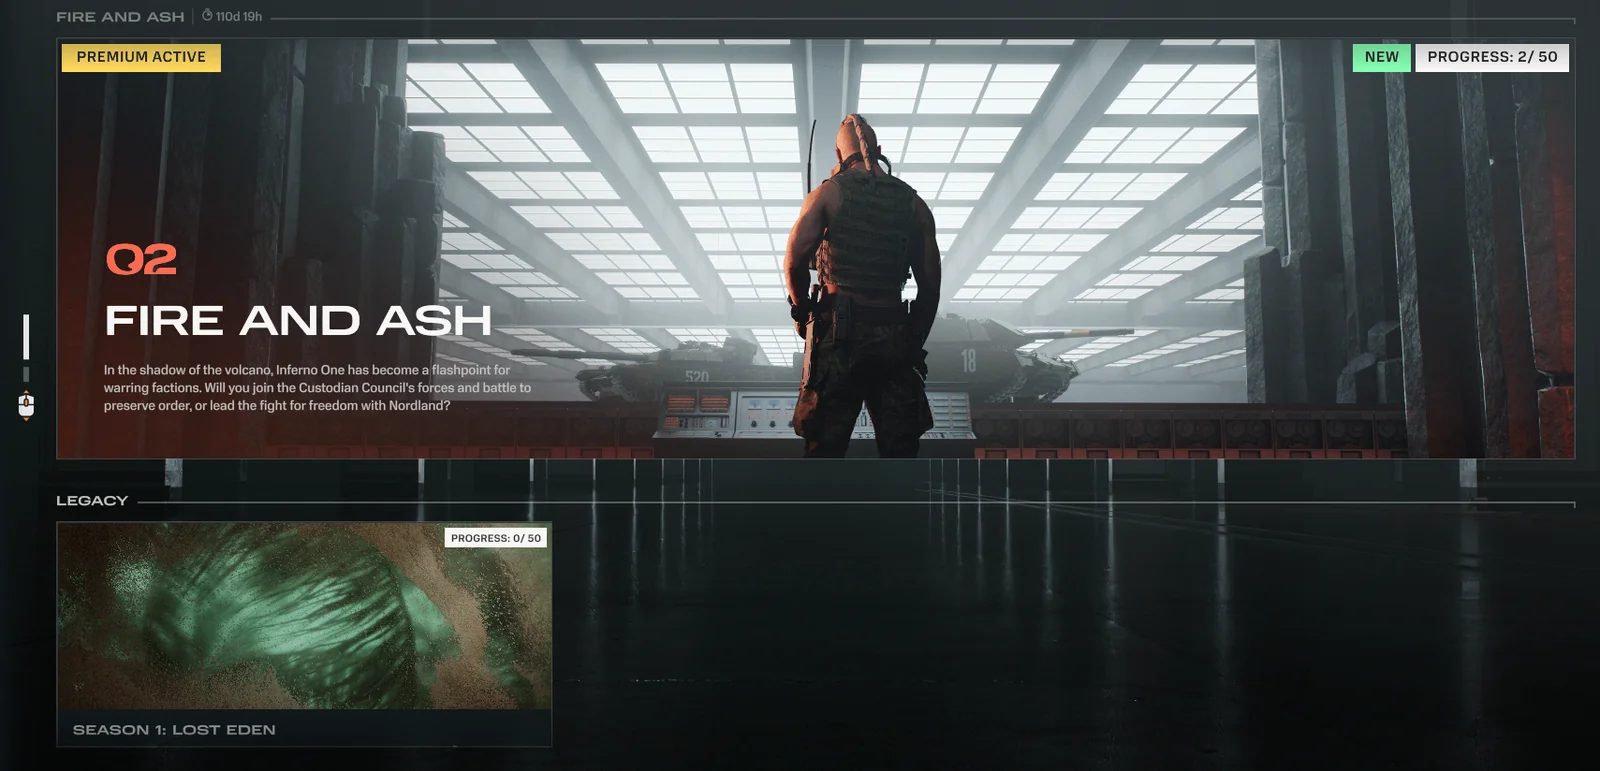
In HEAT, past seasons never really leave. The moment a new season begins, the outgoing season's Battle Pass slides into the Archive with all your progress intact. Rewards you already claimed stay claimed, and anything you hadn't reached yet is still waiting, ready to unlock in whatever order you like.
Premium comes along too. If you owned Premium while that season was live, it stays active on that Battle Pass after it's archived, so those rewards keep coming at your own pace. Didn't pick up Premium at the time? You can still buy it later for any season sitting in the Archive.
Beyond the headline additions, Season 2 brings a batch of new modes, features, and quality-of-life improvements:
20v20 Conquest: Conquest is going bigger. Alongside the Conquest you already know, we're adding a brand new 20 vs 20 version - same objective and same fight for the bases, just twice the tanks on the field.
20 vs 20. Full-scale warfare.
5 bases up for grabs at once.
Unlimited respawns, so get back in there and keep fighting.
Available during peak hours only, just like Plant/Defuse.
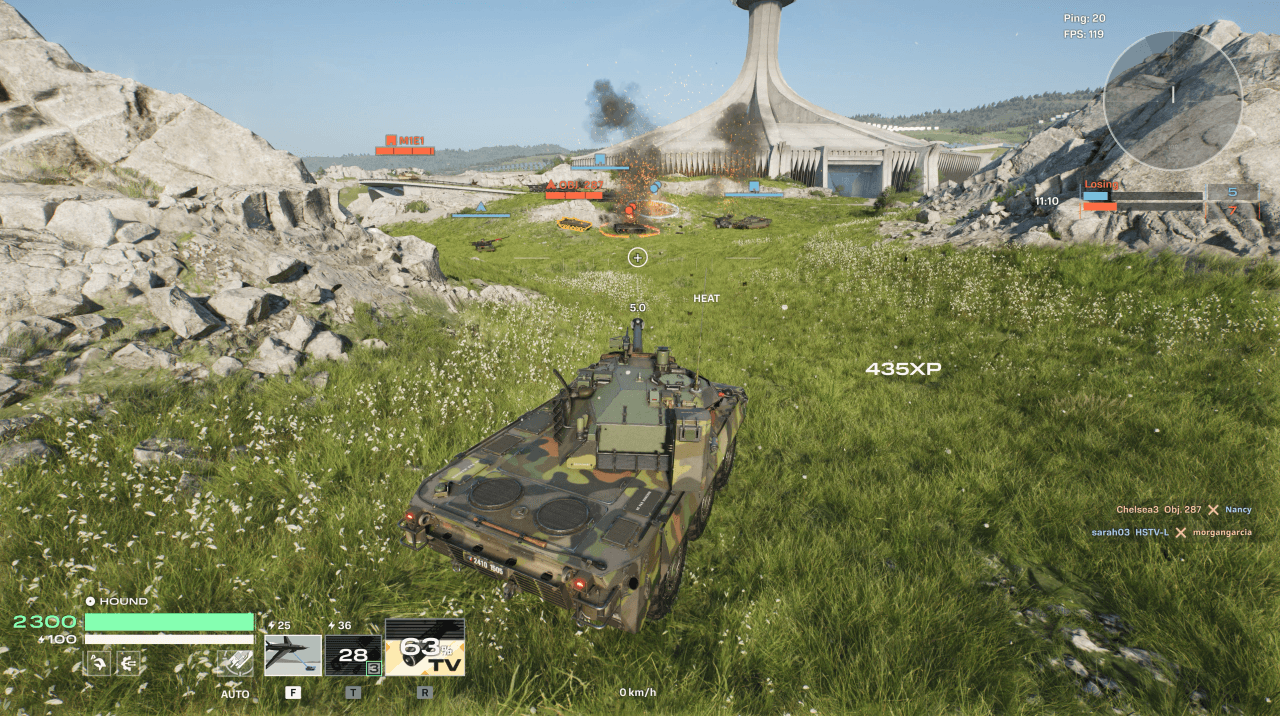
Distance-Coded Reticle: Your reticle now shows the distance to whatever it's pointed at. For Armor Piercing, Armor Piercing High Explosive, and Canister shells, this distance reading is color-coded to reflect your shot's effectiveness: green while within optimal range, yellow once you're past optimal range but not too far out, and red when you're far enough that damage and penetration drop off significantly. High Explosive, HEAT, and ATGM shells aren't affected by this system, so their distance reading won't change color.
LOCK DENIED Marker: When you're unable to lock onto a target, you'll now see a "LOCK DENIED" marker letting you know the lock-on attempt was blocked. This applies to Fuzzer's Strike Laser ultimate, Kent's Contracted Strike ultimate, and AMX 10 RC's Top Attack Missiles. This is separate from the existing "Out of Range" marker, so you'll always have clearer feedback on exactly why a lock-on isn't going through.
Randomized Base Order:Control matches no longer always start with Base A, then B, then C in the same order. Base order is now randomized each match, so every game feels a little different.
Ping Spam Cooldown: To prevent ping spam, a cooldown system has been added: using pings too frequently in quick succession will temporarily reduce how often you can ping again.
A New Season 2 Hangar: Step into a whole new Hangar built for Season 2! A whole new look and atmosphere await, giving your home base a feel all its own.
Full details are in the Update 1.2 patch notes |
Season 2, Fire & Ash, goes live on September 2 at 10:00 UTC, bringing Gambit, the M60A3E2, the T-72SH, Inferno One, and the M1150 Breacher into the game together. Full patch notes, reward track details, and go-live assets will follow closer to launch. Check back here or follow our channels for the latest as September 2 approaches.